Se desideri veder tradotto questo post in italiano, segui le indicazioni presenti in un mio precedente post (Come veder tradotta una pagina di un sito nella propria lingua madre).
____________
P.S. 2020 Update – Now you can even use the Quick assist app [IT: Assistenza rapida] to give or get a remote assistance to someone on a Windows 10 PC. See this other post.
___________________________________
This post is an update of an old one of 2015, where I give some more details and add news related to how to get a remote control of a PC, not only in a local network but even from Internet, possibly for getting a remote assistance from a trusted skilled user.
Sometime, using a PC, you need to give/get a help from remote! As its predecessors, Windows 10 includes a cool Remote Assistance feature, that allows you to seek the help of a friend/technician in setting up your computer over Internet. I know that there are several alternatives to Microsoft Remote Assistance (e.g. TeamViewer) … but why install another SW when that functionality is already embedded in the OS and it is free?
So, let see how to configure the Windows 10 Remote Assistance …
- First you need to set the “Allow Remote Assistance connection to this computer” option on your computer.
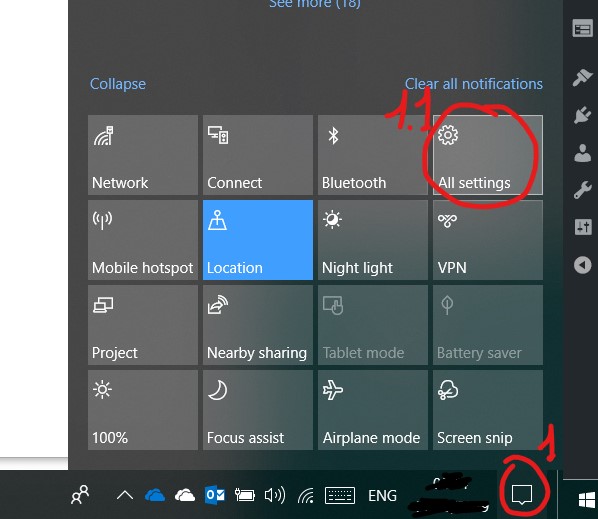
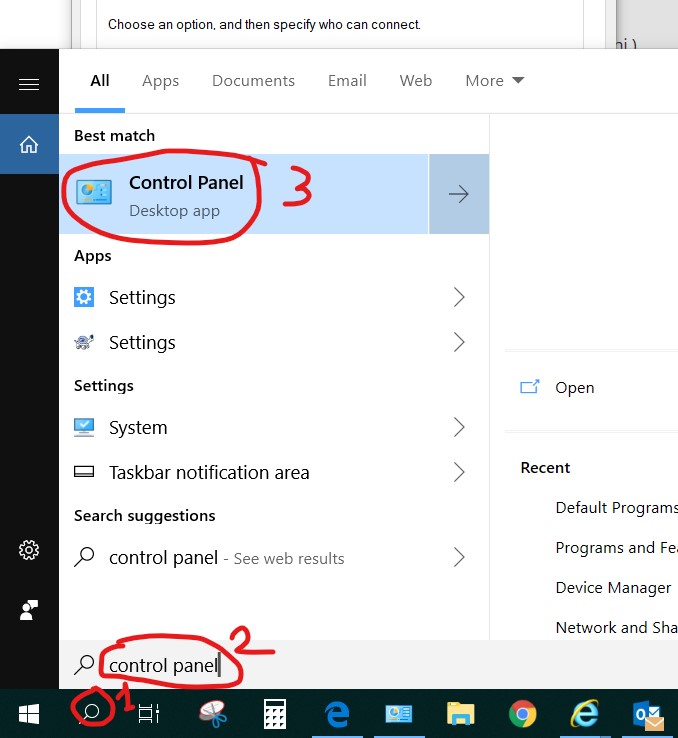
This can be done in two ways. The easiest can be to reach the System Properties windows from the Notification panel (1 step) available in the right of the bottom toolbar, choosing All Settings tile (1.1 step ), searching remote assistance (2 step) (IT: assistenza remota) and choosing Allow Remote Assistance invitations to be sent from this computer (step 3):


An other way to do the same setting is to go to Control Panel -> System and Security -> System – Remote settings and, in a similar way, check the “Allow Remote Assistance connection to this computer” option.
Note that if the PCs were on the same network and/or you know the address assigned to the remote one, you could use the Remote Desktop Connection application: if so, you need to set, in the remote PC (always in the same System Properties window), the option Allow remote connections to this computer in the same Remote tab, but in the Remore Desktop bottom section. But this is an other matter!
Now that we are talking about giving a remote assistance on Internet to a PC with an unknown IP address, what you have to do is to set Allow Remote Assistance connections to this computer in the following Remote Assistance section of the Remote tab in the System Properties window:


Enable Remote Assistance on the PC that needs help
- Second, you have to run the Windows Remote Assistance client to invite someone you trust to help you or use the same client to help someone who has invited you.
However, for some reason, Microsoft did not add this Remote assistant client in the All Programs list so you have to launch it from somewhere else. One way is to use the “Invite someone to connect to your PC and help you or offer help someone else” link (step 4 in the Windows Settings screenshot seen before, after searching for remote assistance – IT: assistenza remota).
Alternatively, and perhaps easier to be done, you can directly launch that client program from the Run (IT: Esegui) popup windows: on the keyboard, press simultaneously windows button and r key -> windows button + r . Then, in the input field insert the name of the program msra.exe and then click OK to run it:

Launching the Remote Assistance client running msra.exe (Windows button + r , type msra.exe, click OK)
_______________________
TIPS & TRICKS
If you use this feature frequently, it could be convenient to create a shortcut to this executable (C:\Windows\System32\msra.exe), right-clicking on the desktop background and choosing New->Shortcut and configuring it.
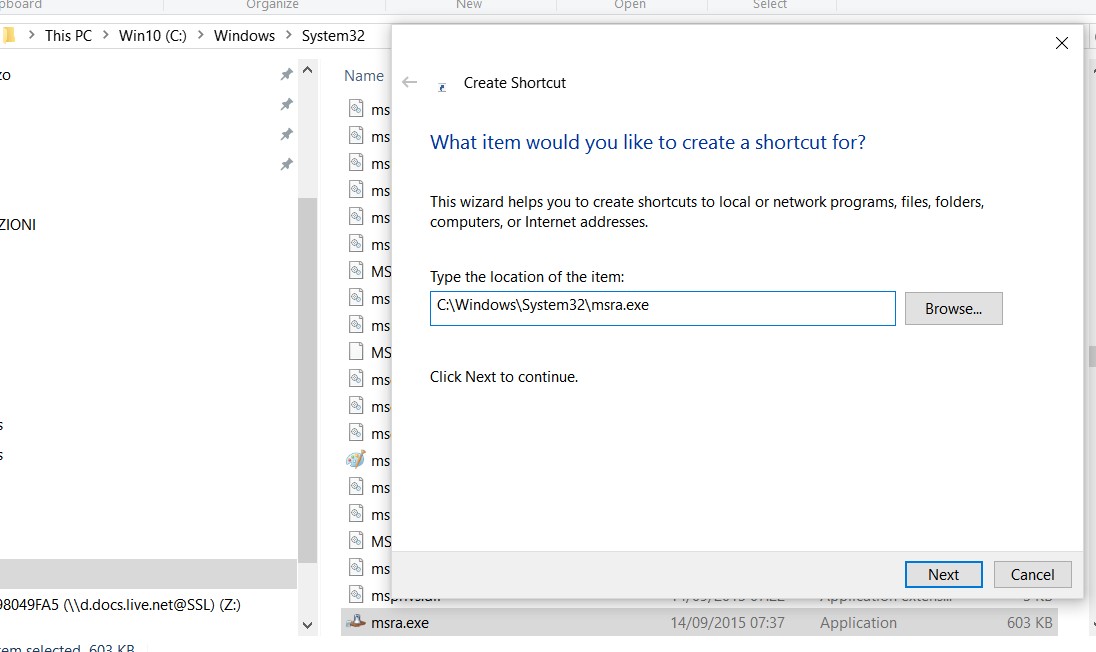
Create a shortcut for msra.exe
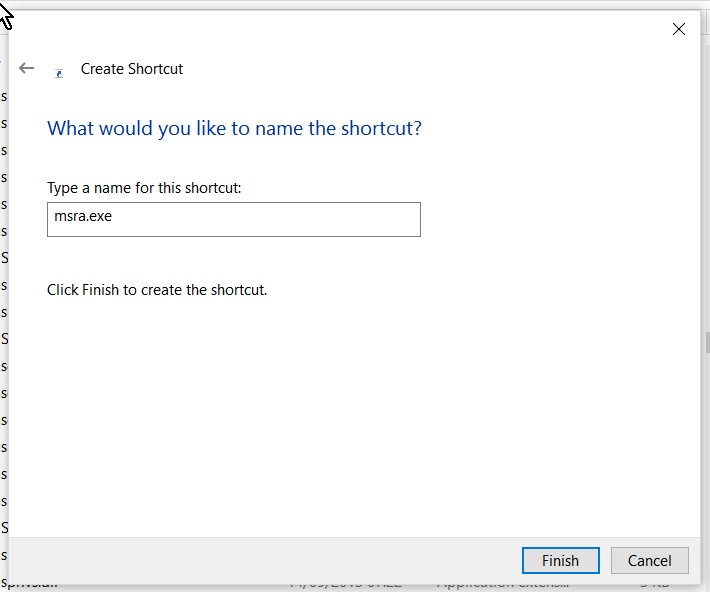
Create a shortcut for msra.exe (2)
_______________________
NOTE – It could happen that, when you run that Remote Assistance client the first time, the following alert appear, saying that the computer is not set up to send invitations. In this case you need to click the Repair button in order to identify (and possibly let Windows 10 solve automatically) the cause of that warning:

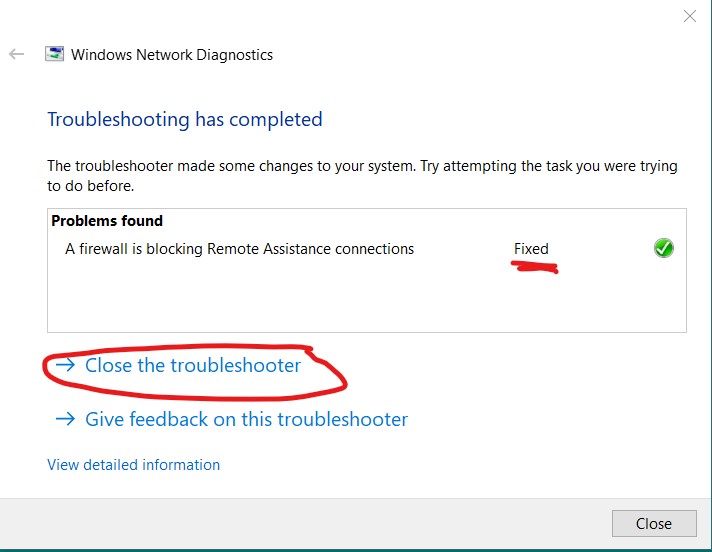
In fact, most of the time the cause is a firewall setting that, by default, could possibly block the Remote Assistance: do not worry, Windows 10 will do the right configuration for you! 😉
Note that you should be administrator of the PC to allows those changes, so please provide an administrator credentials to allow this repair: take into account that the default user of a Windows 10 PC has the administrator rights by default.
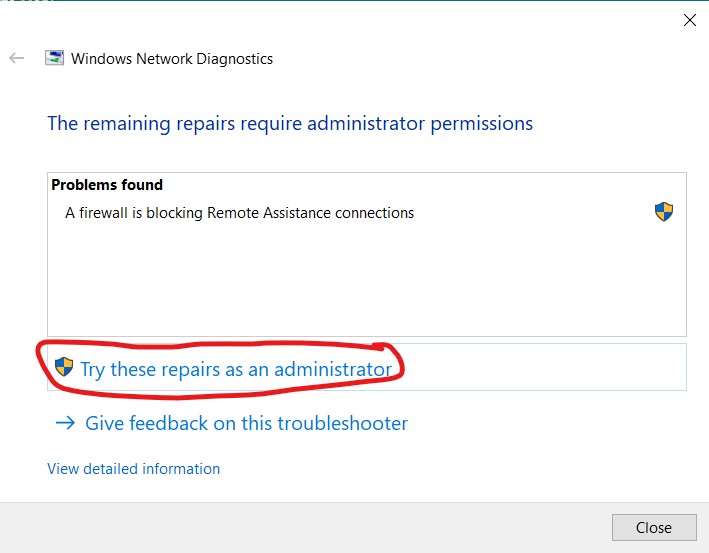
Possibly it is a firewall setting that should be changed: administrator credentials are requested
After fixing that problem, close the troubleshooter and launch again the Remote Assistance client:
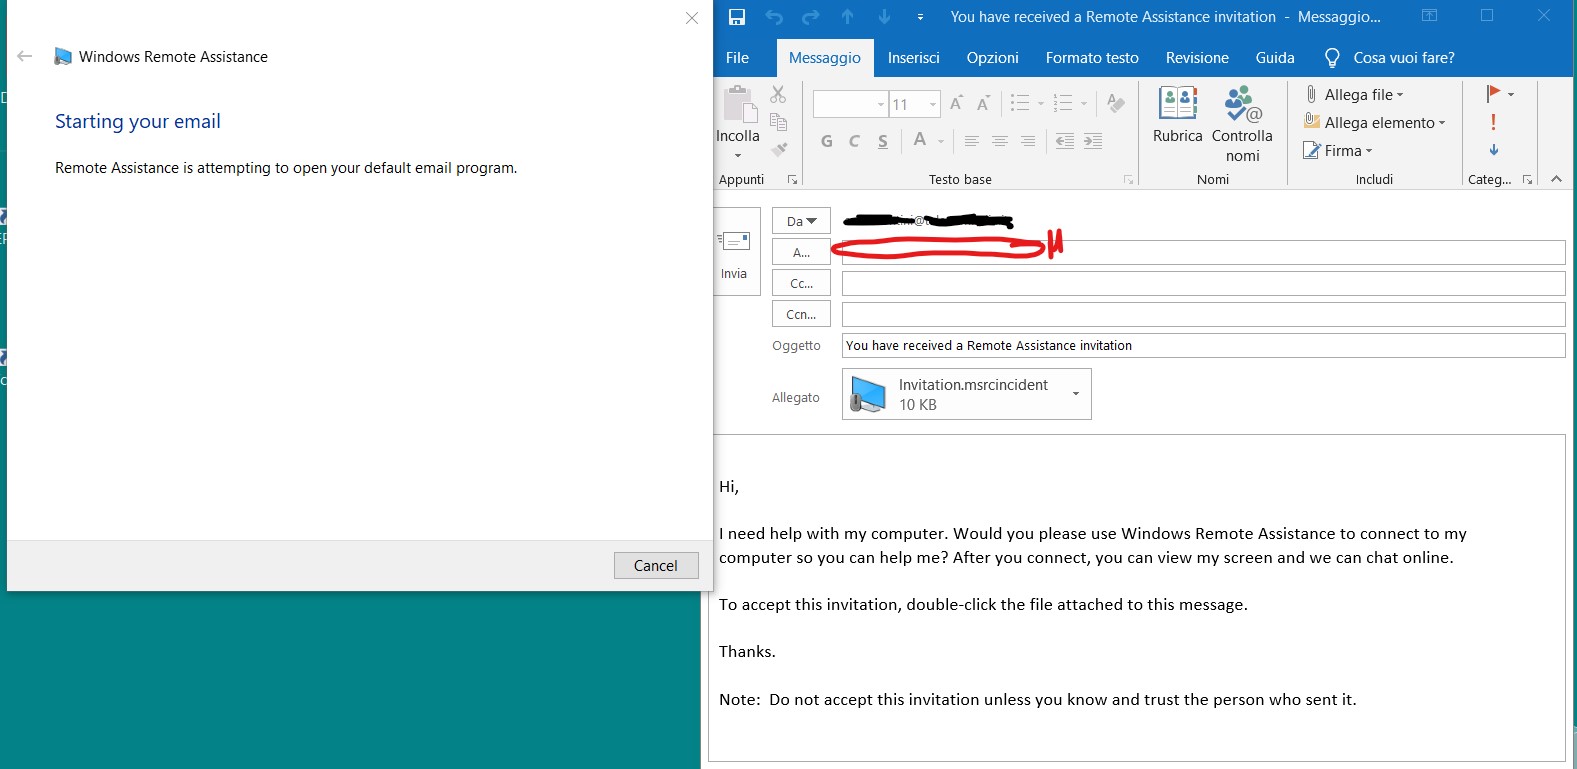
This time the Windows Remote Assistance client will run properly showing several ways to let you invite a trusted helper. In the following, I will show the most common one that is using an email invitation. Choosing that option, a compatible email client is launched attaching the proper invitation: you only need to specify the email of the trusted helper and send that already prepared email. Moreover, a password will be created and it must be provided (possibly by phone) to the remote user in order he will be able to connect to your PC.
Alternatively, if you don’t have a mail client installed on your PC, but you are using for example a site to sent emails with the browser, you have to choose the first option (i.e. Save the invitation as a file) and then attach that created file to a new email composed as you are used to …

The trusted helper user will receive that email, it will click on that attached file that will be used by the Remote Assistance client to create the remote connection with your PC through Internet, after having inserted the password provided by you.

The password, provided by the requested user, must be inserted to give the Remote Assistance.
At this point, the remote helper user will see your PC desktop, seeing what you are possibly doing but he cannot take the control of the mouse and of the PC.
If there is the need to let the remote helper user to directly do some operation on your PC, he need to click on the Request control item (at the upper menu, on the left) and the requesting user must allows that remote control properly clicking on a popup windows that it will appear on his desktop.
Note that, even when the remote helper user have the control of the PC, the local user will maintain the control … so both can interact with the PC with keyboard and mouse.

To let the remote helper user take the control of your PC, the Request control menu item must be clicked by him and the you, as local user, must allows it
At the end, in order to stop the remote assistance the helper user should click on the Stop sharing menu item (at the upper menu, on the left, so available in the same place where initially there was the Request control item) .
_________________
If you need more information on the Remote Assistance in Windows 10, you can also see the following links:
- What is Windows Remote Assistance?
- Get help with your computer using Windows Remote Assistance
- Help someone with a computer problem using Windows Remote Assistance
==========================================================
1/27/2016
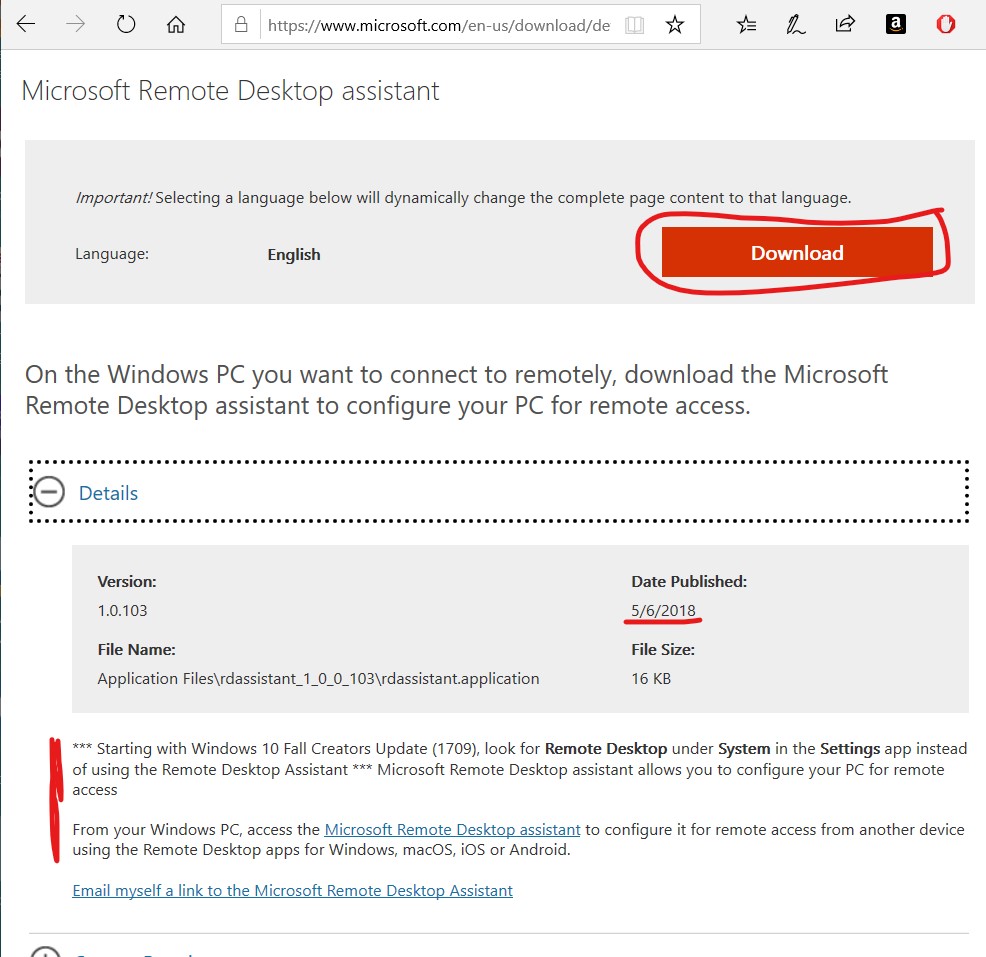
See also Microsoft Remote Desktop assistant (first version released since 1/27/2016) that allows you to get the remote control of a PC even from a whatever device (even from a smartphone). An app version is available now also in the Store, as described afterwards.
Clicking on Download button a rdassistant.application file is downloaded: launching it allows to have the Microsoft Remote Desktop assistant application installed:
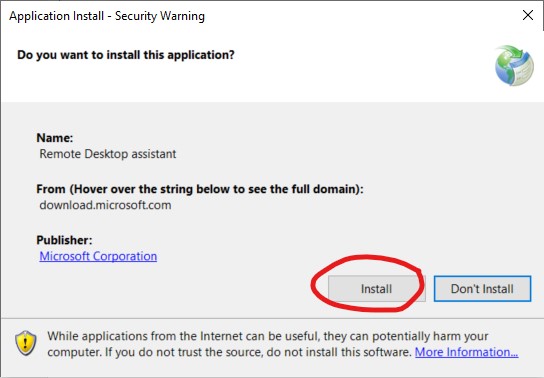

Desktop application version of the Microsoft Remote Desktop
The application will start and you can run the application by clicking Install. After launching the application and accept the license terms, you can begin setting up your PC for remote access. After completing configuration you are now ready to use our Remote Desktop applications from another device to access your PC.
To get started follow the instructions below for your specific device:
However, as stated in the Details, it is now suggested to use the app version: ” *** Starting with Windows 10 Fall Creators Update (1709), look for Remote Desktop under System in the Settings app (IT: Desktop Remoto Microsoft) instead of using the Remote Desktop Assistant ***”.
Therefore, going to Settings/Remote Desktop page, you can get the direct link of the Microsoft Remote Desktop app and let install it:
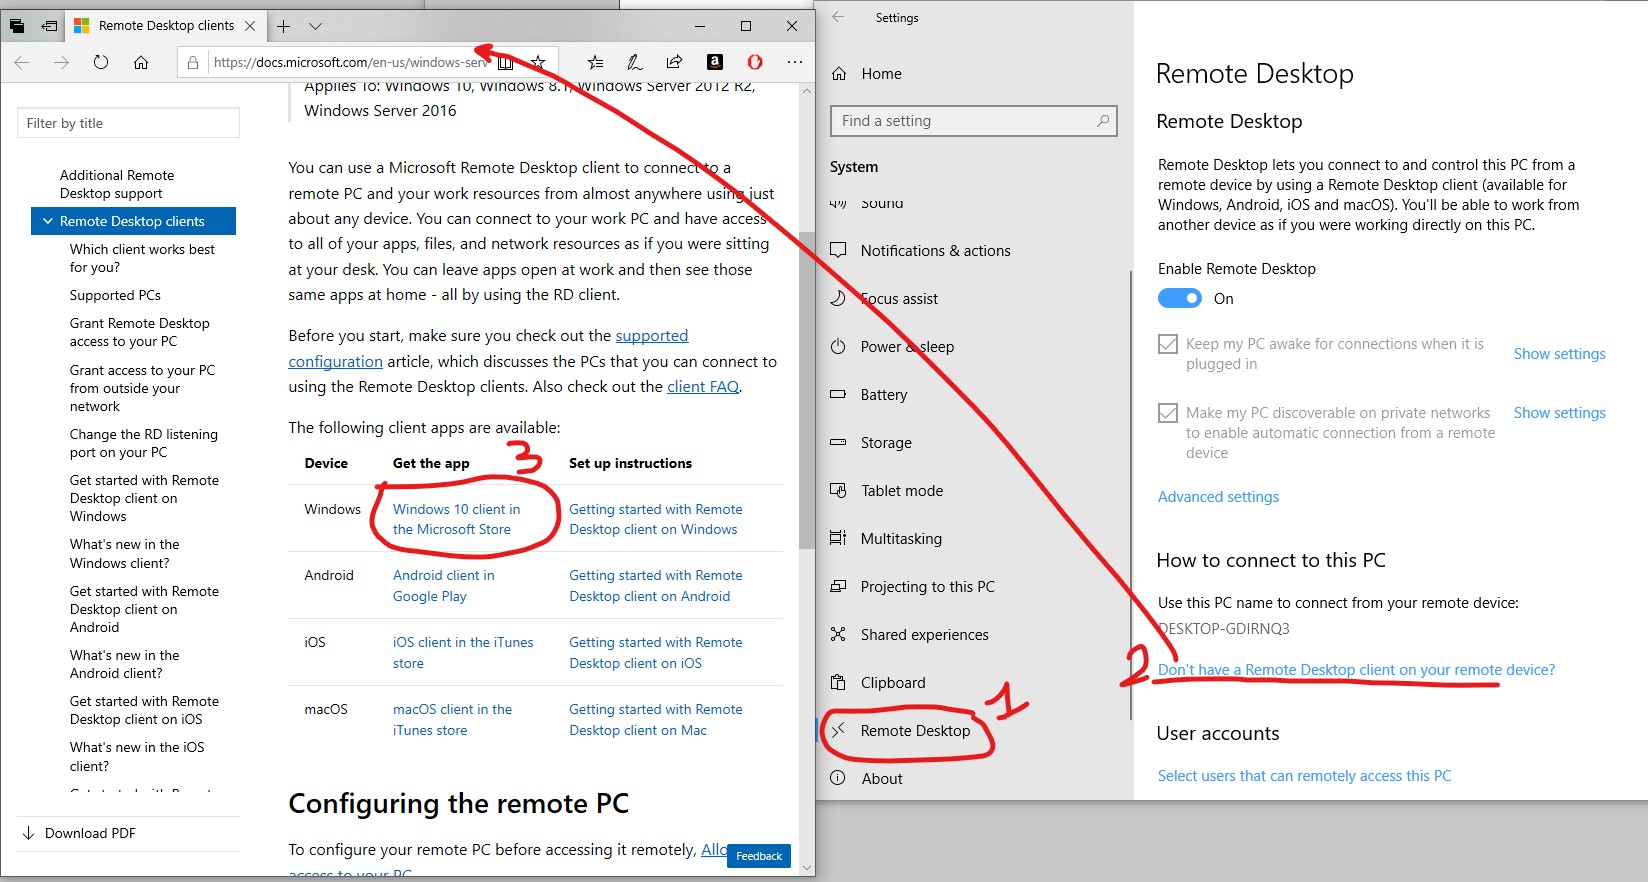
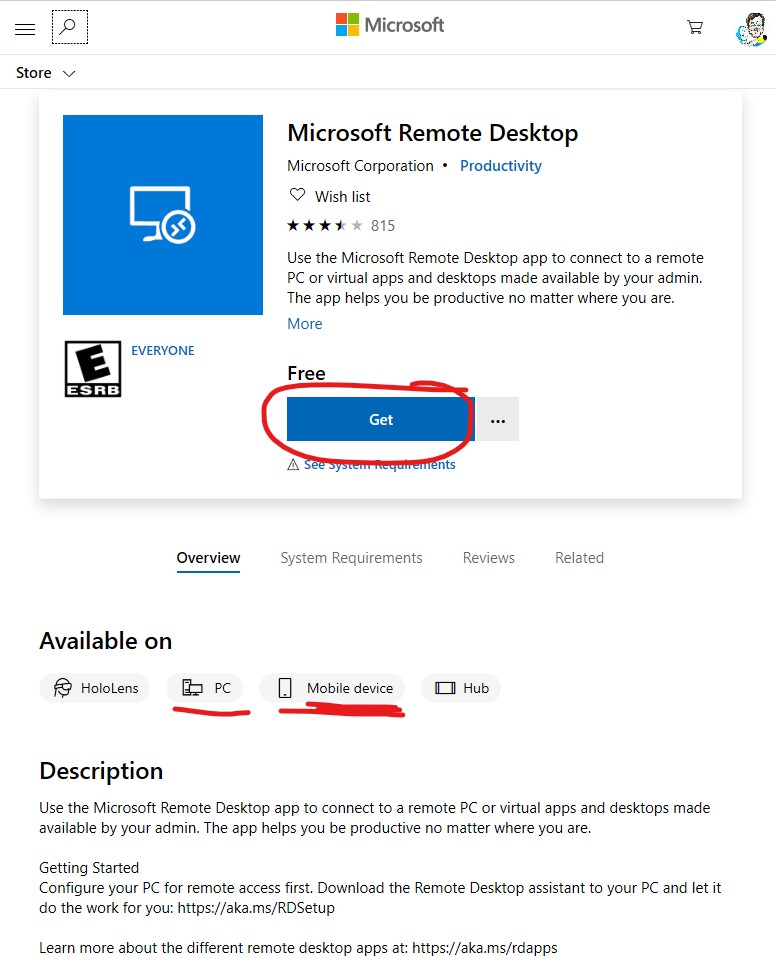
Microsoft Remote Desktop app available from the Store

App version of the Microsoft Remote Desktop
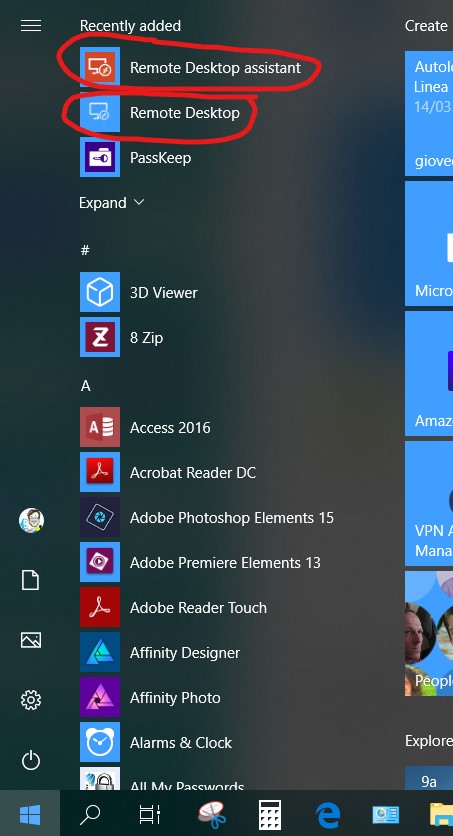
If you install both the desktop and app versions of the Remote Desktop, you will have both among the applications available from Start: