
There are still problems in doing tethering on a manually set APN using a Windows smartphone (both Windows 10 Mobile and Windows Phone).
Personally I think that it is a missing feature in the configuration code in handling the hotspot Wi-Fi in this O.S. Therefore I think it must be solved as soon as possible, especially if (as I understood) the main target for Windows 10 Mobile devices will be the business area and not so much the consumer one.
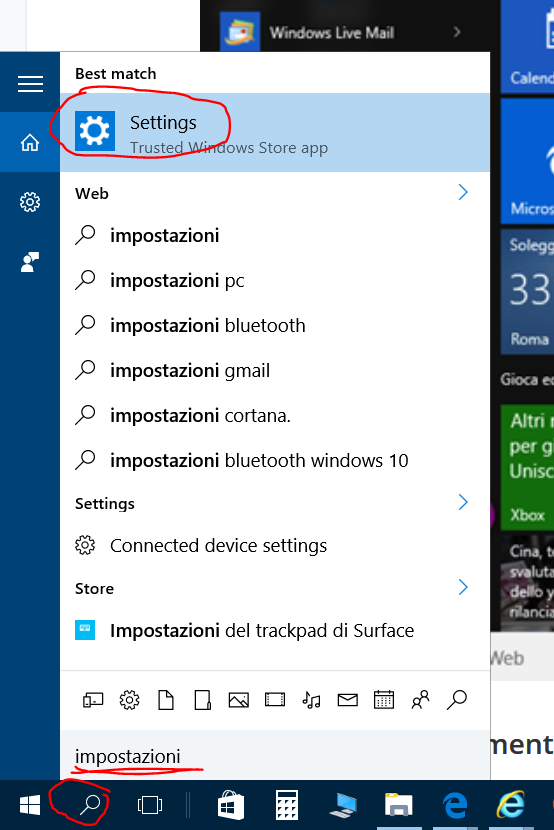
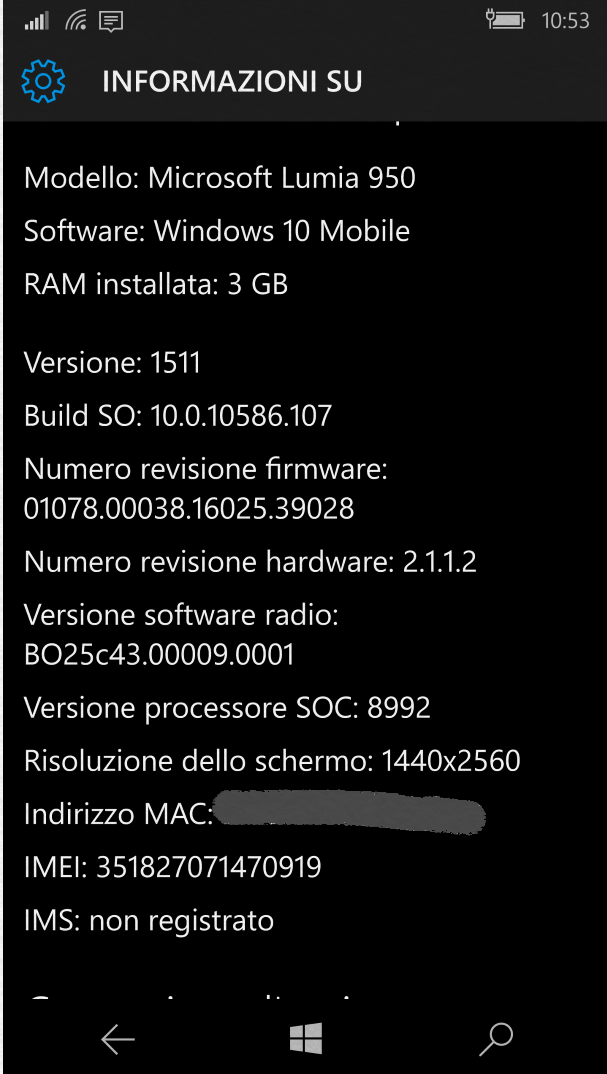
I already explained in a previous post how to set a new APN (for example a firm one) on a Windows 10 Mobile device, for both a new one (e.g. Lumia 950) and an “old” one (Lumia 920) updated as an insider [in this last one the user interface still remains like it was in Windows Phone 8.1 devices] .
While I haven’t never had problems in doing tethering, using my firm employee APN, with both Android and iOS devices (since version 9, September 2016), I had problems in doing that with my Windows 10 Mobile and Windows Phone. With that devices, while I was able to set the Hotspot mobile feature (and so do tethering) using a public APN (both TIM WAP and TIM WEB public ones) I couldn’t start it if the my firm employee APN is set: at first, whenever I tried to set the Hotspot mobile, the following error page appeared, saying that “I had no data connection to be shared“.
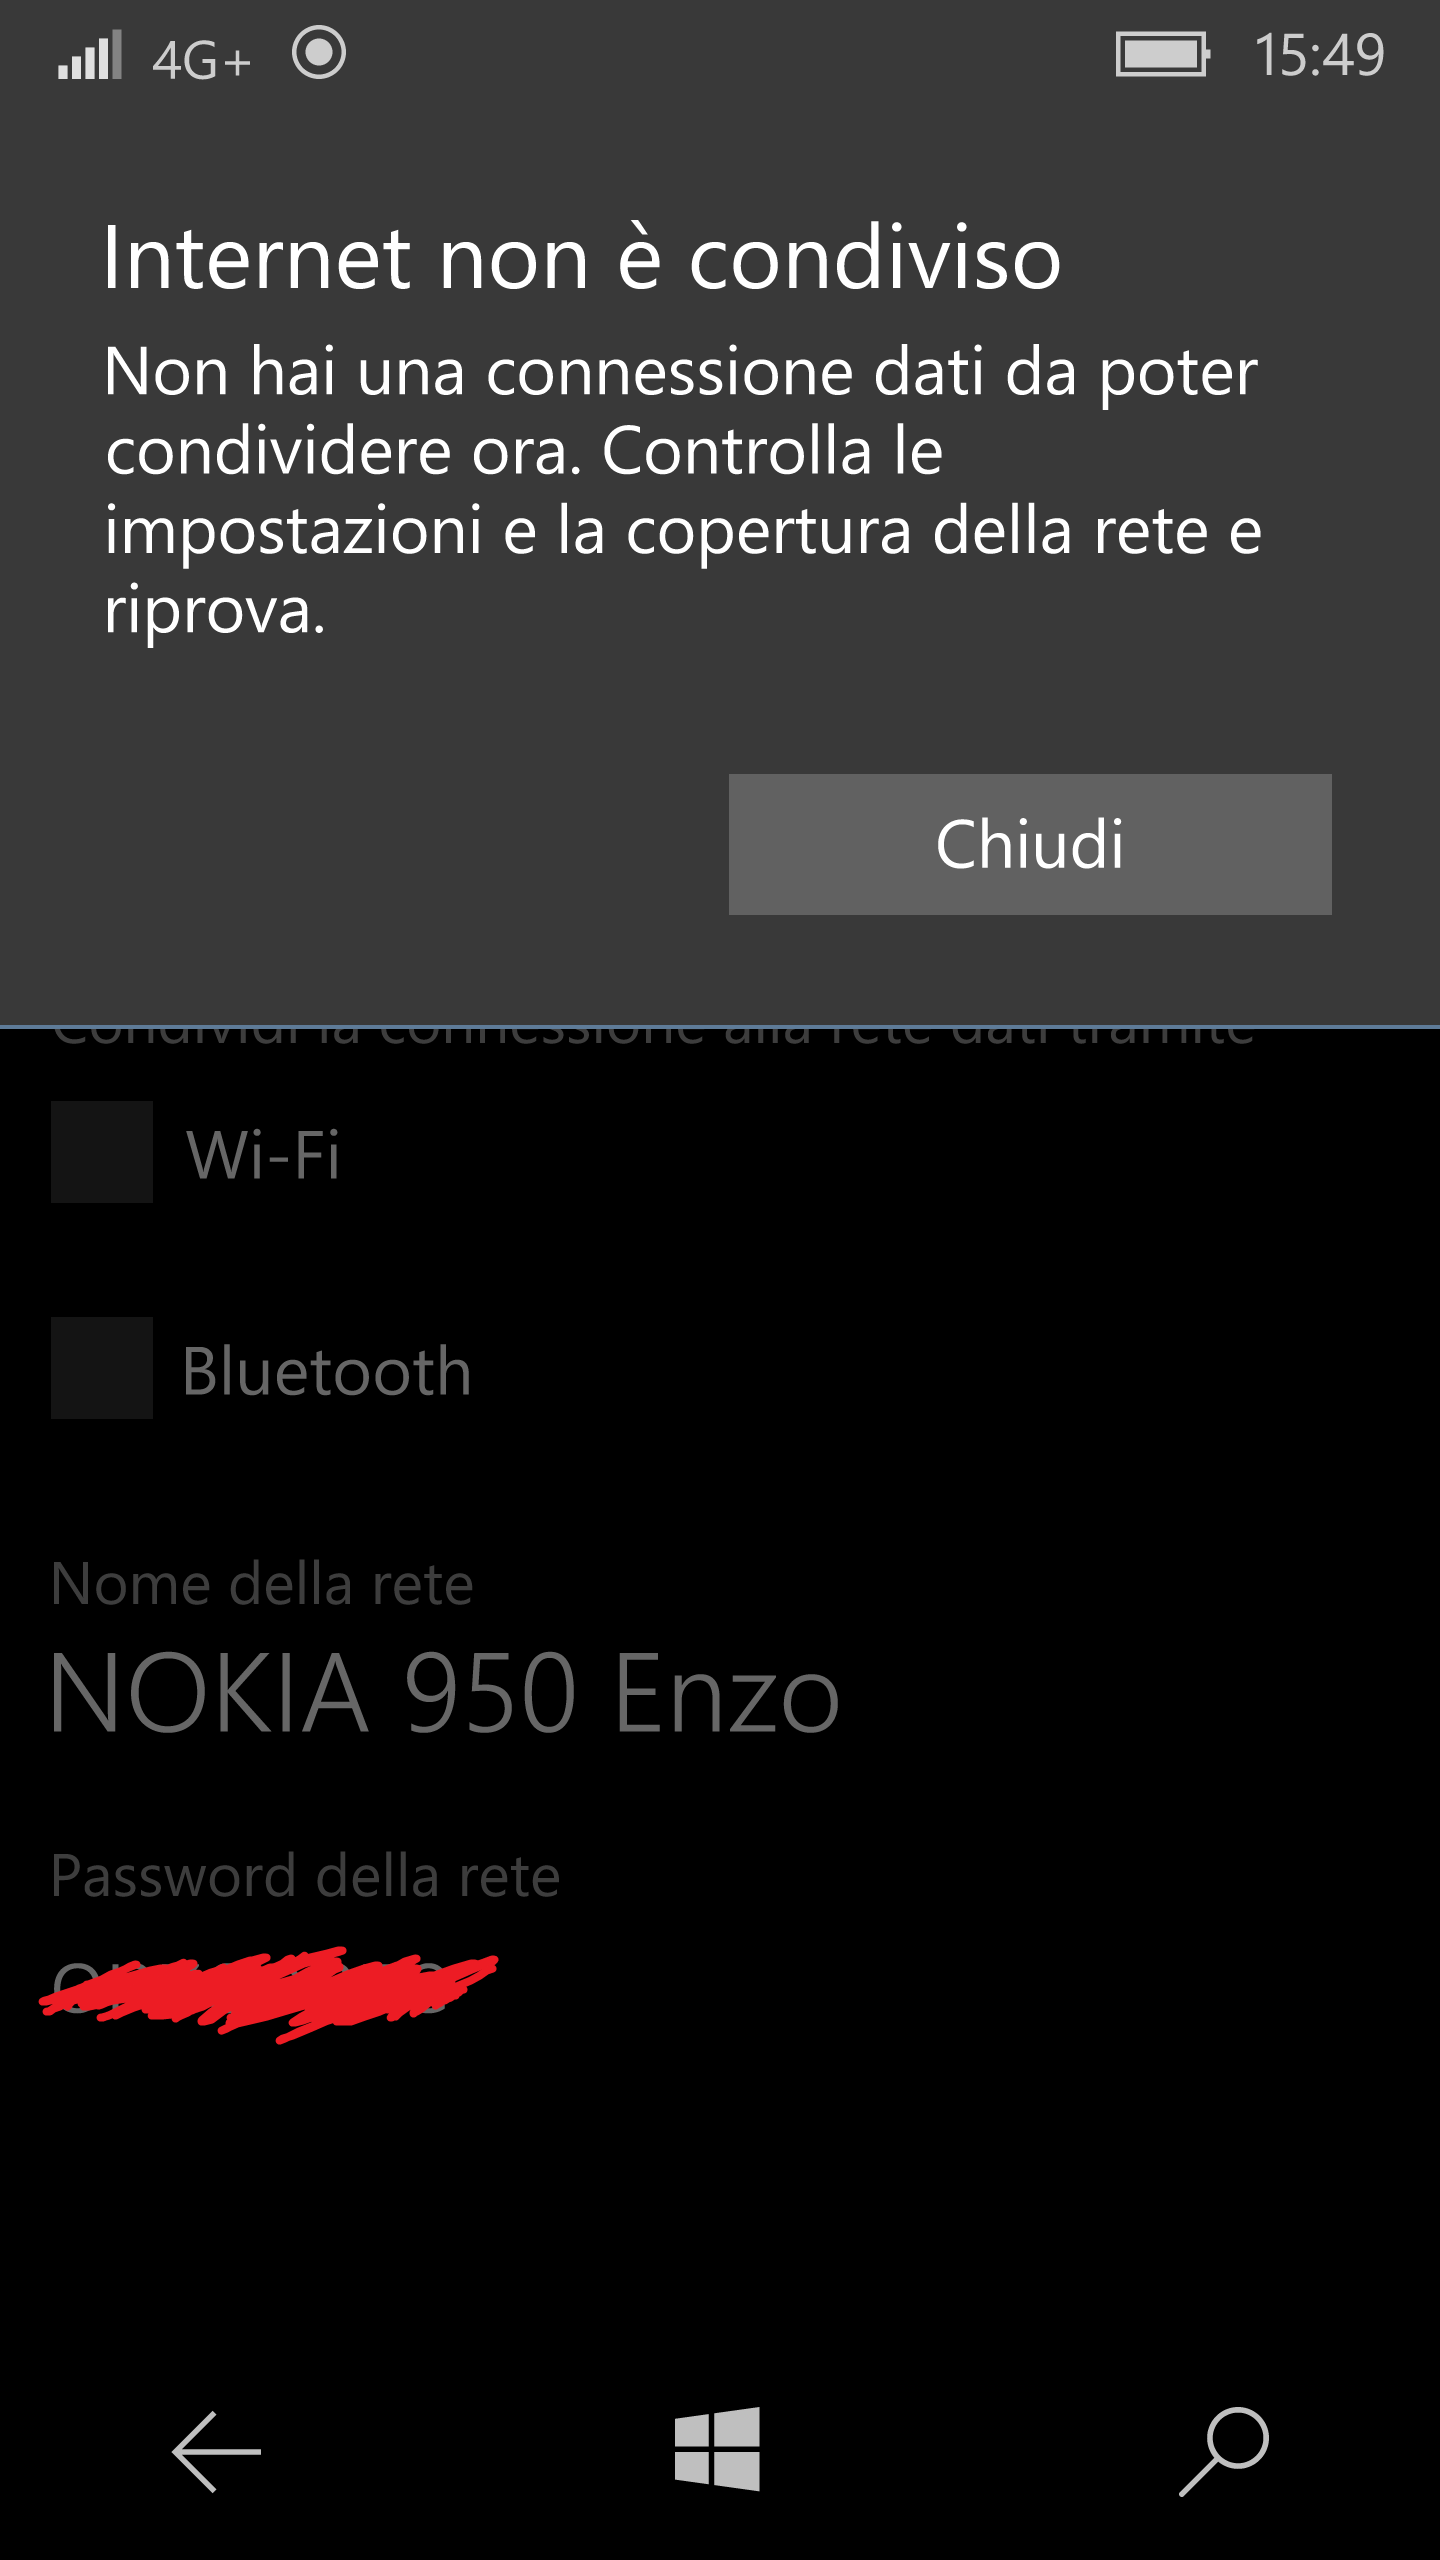
Error trying to set the hotspot mobile having the Telecomitalia employee APN
Obviously when my firm APN is activated (no mobile hotspot enabled) the Internet connection was fine and I could access also to my firm intranet … but no hotspot was settable!
In my old Lumia 1020 Windows Phone device I set the new APN from Settings -> access point (and the setting page it looks the same on the Lumia 920 one, updated to Windows 10 Mobile as insider) while in the new Lumia 950 I had to go to the Settings > Network & Wireless > Cellular&SIM > SIM Settings > Add an Internet APN [where there is also, configuring a new APN, the new option “Use this APN for LTE and substitute it from the one of the mobile phone operator” (not available in Windows 8.1 settings) that I set to ON]. No way to understand why the hotspot mobile could be set on my Lumia 950 only with both the public APNs (TIM WAP and TIM WEB) and not the private one (e.g. a firm employee one)!
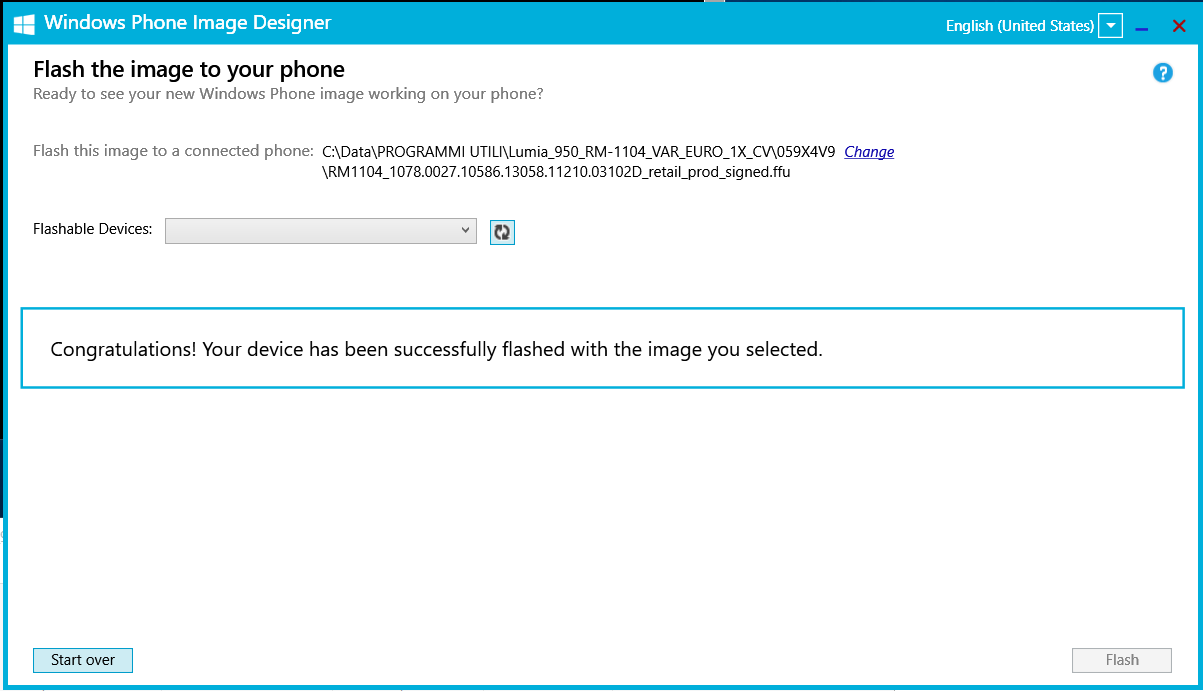
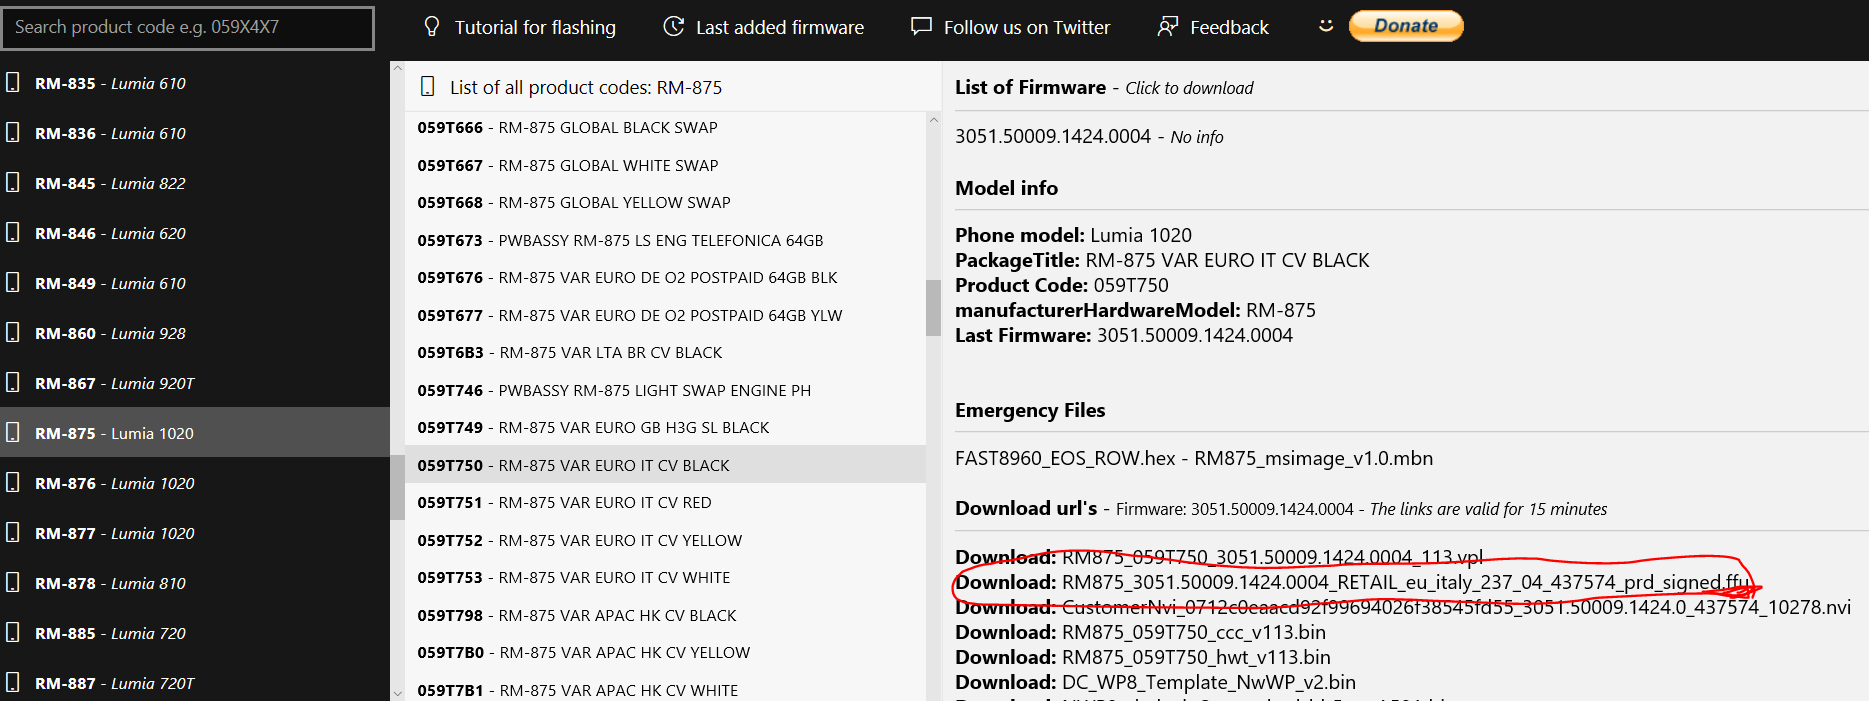
I supposed that it was a problem of the Lumia 950 firmware that was not properly updated because of the delay of this kind of updates for branded devices, so I even tried to made it not branded anymore … but also after that updates nothing changed.
I tried to set max 3G and, disabling LTE, and have current connection H+ in order to check if the problem should be at network layer … but nether that could help: no shared Wi-Fi hotspot possible and the same warning displayed.
Therefore I contacted the Lumia Support for business service, by filling out the proper form: I was suddenly contacted by technical people (Steff and Niko) and together we tried to find out where the problem was.
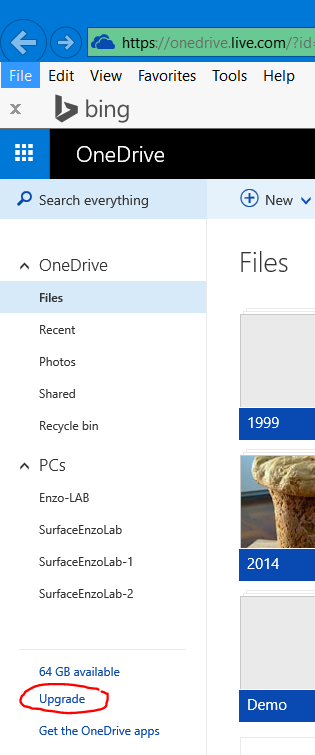
They asked me to download the Field Medic app from the Store to provide my logs with “Include Netlogs” enabled: after downloaded the app and opened it, I pressed Start Logging, I reproduced the issue, I went back to the app and pressed Stop Logging. I saved the Field Medic report that is then made available in Files: I select that report and shared it through OneDrive since it was too big for an attachment. But even the log analysis helped!
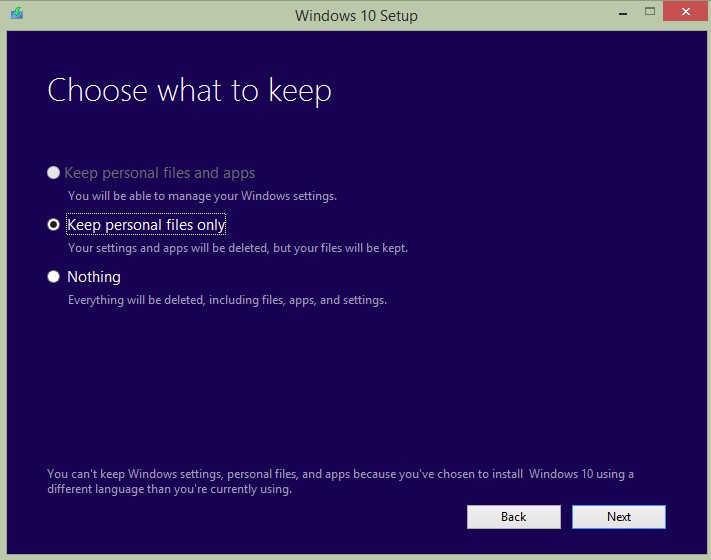
At the end it was suggested to reset the device using the Windows Device Recovery Tool on a PC in order than that application should download and install the latest available software version for my Lumia 950: however because this action had been deleted all my personal data I preferred not to do it! I Know that it is possible to restore from a cloud backup all the personal , but it takes time to reinstall everything (even the apps) and have the smartphone as it was.
I knew that it was neither a matter of the APN configuration and nothing should be fixed on network side: tethering works even on private APNs for every other platforms, Android and iOS.
============
At a first glance, the problem seemed to be (strangely) solved setting the “Profile mobile network” to TIM WAP and NOT to TIM Web (these are the two available public APNs in TIM, that can be used both), even though the set APN is the private employee one! In my understanding the setting of the default APN to TIM WAP or to TIM Web shouldn’t matter because another Internet APN is selected (that is the firm employee one) and not the default one … but it seems that for some unknown reasons it is relevant also in that case!!
NOTE – Till Windows Phone 8.1, the list of APNs where alternatives and only one can be chosen among the following list:
- TIM WAP,
- TIM Web
- … possibly more
- APN telecom (my new configured private employee APN)
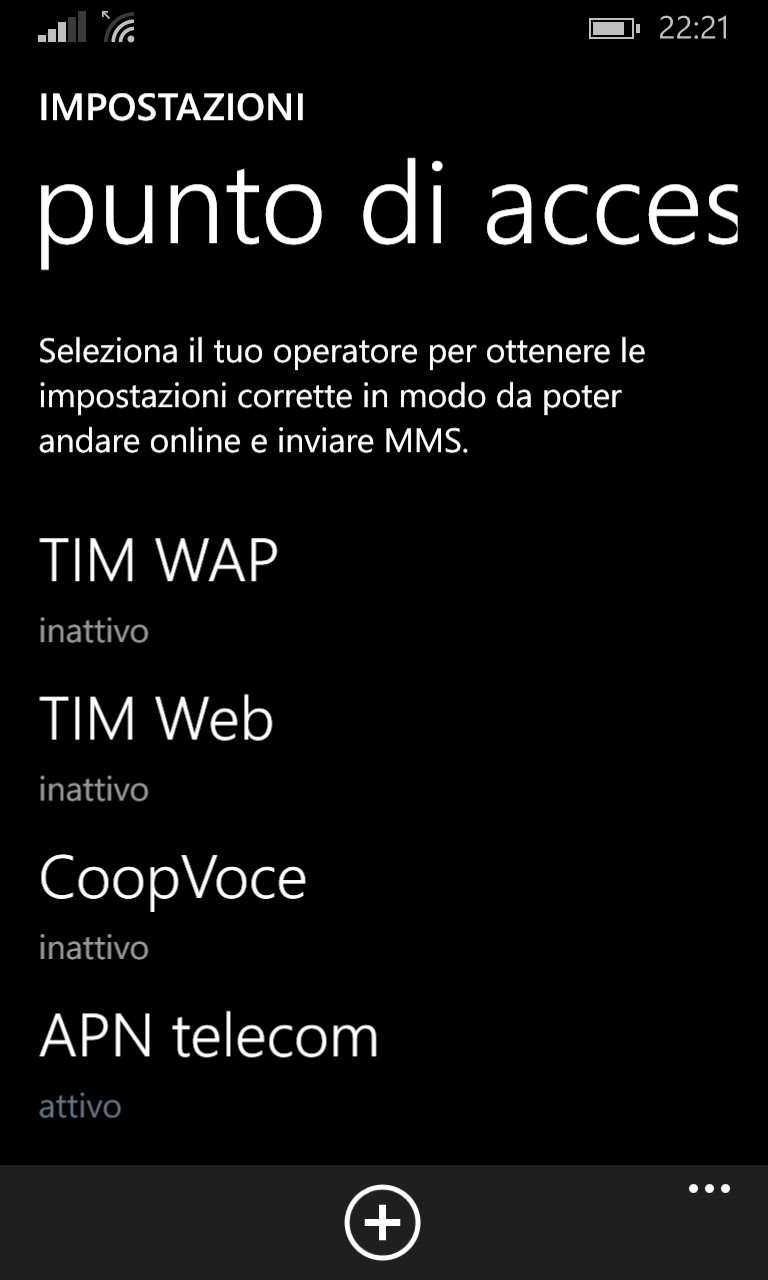
APN selection on an Windows Phone 8.1 device
The selection available on an Android device is the following:
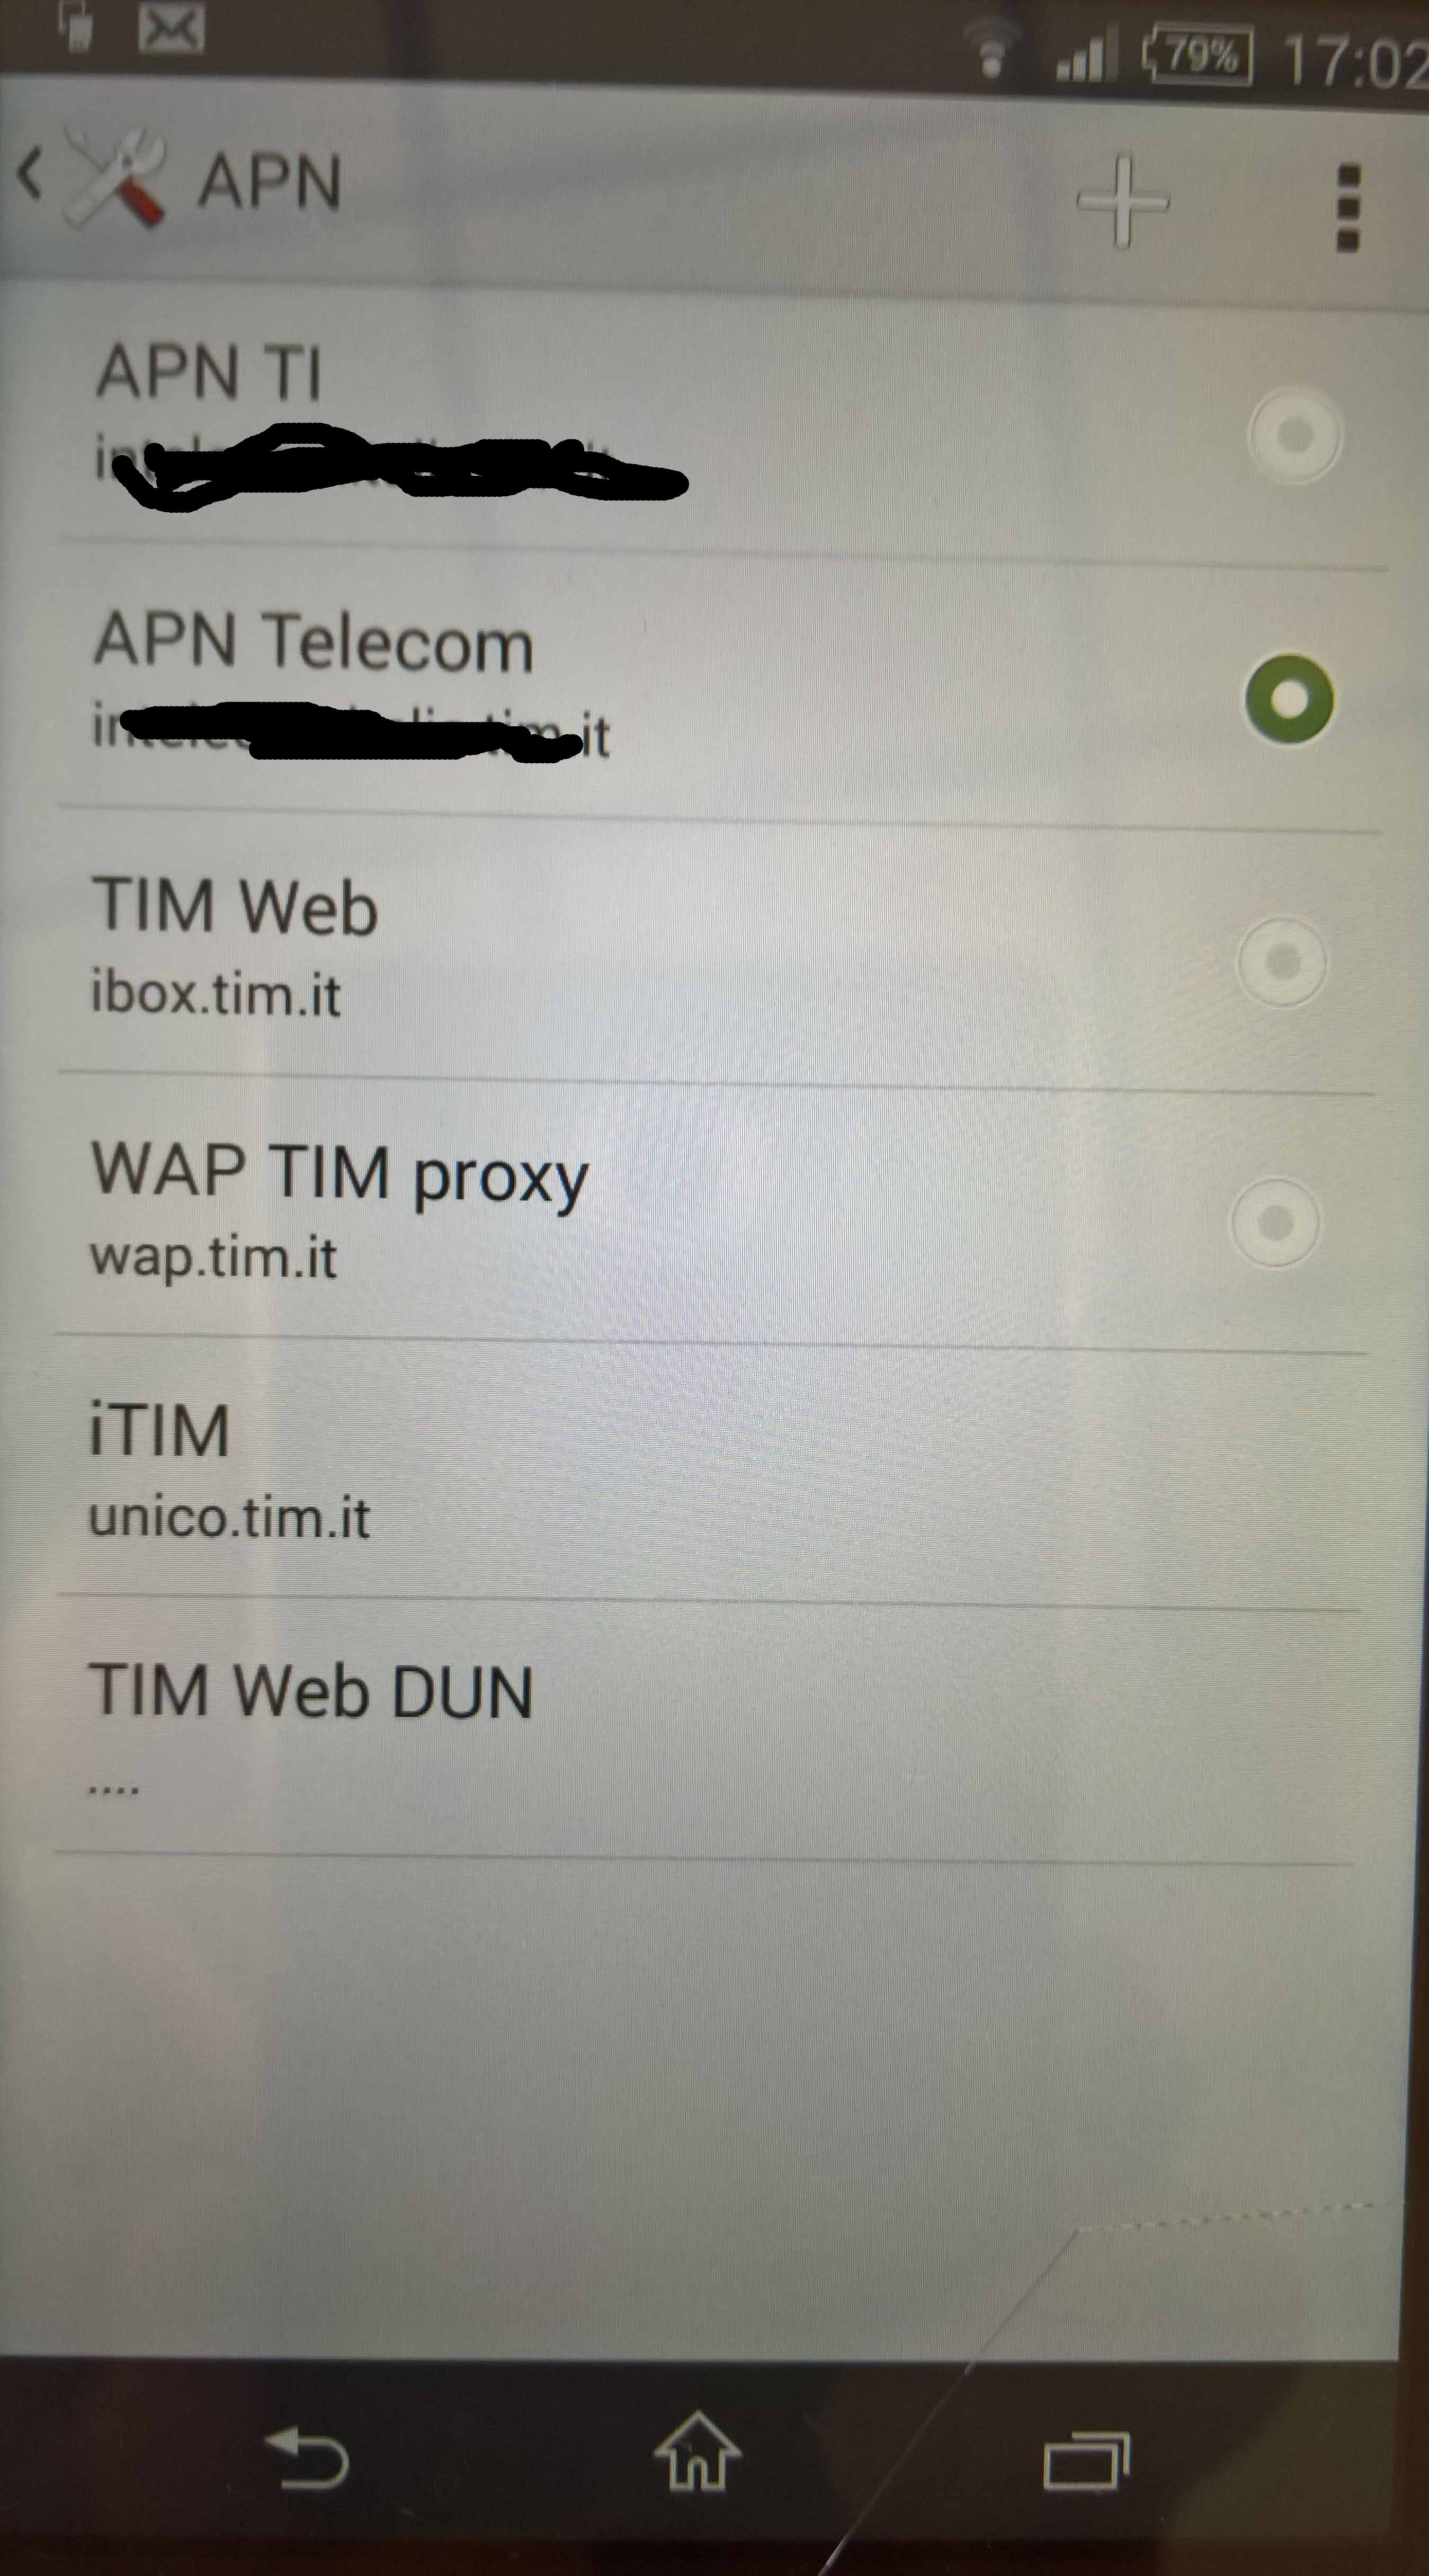
APN configuration in an Android device
In Windows 10 Mobile there are two sections, one defining the “Mobile network profile” and another related to the “APN Internet” where the default APN changes depending to the settings ot the previous “Mobile network profile”.
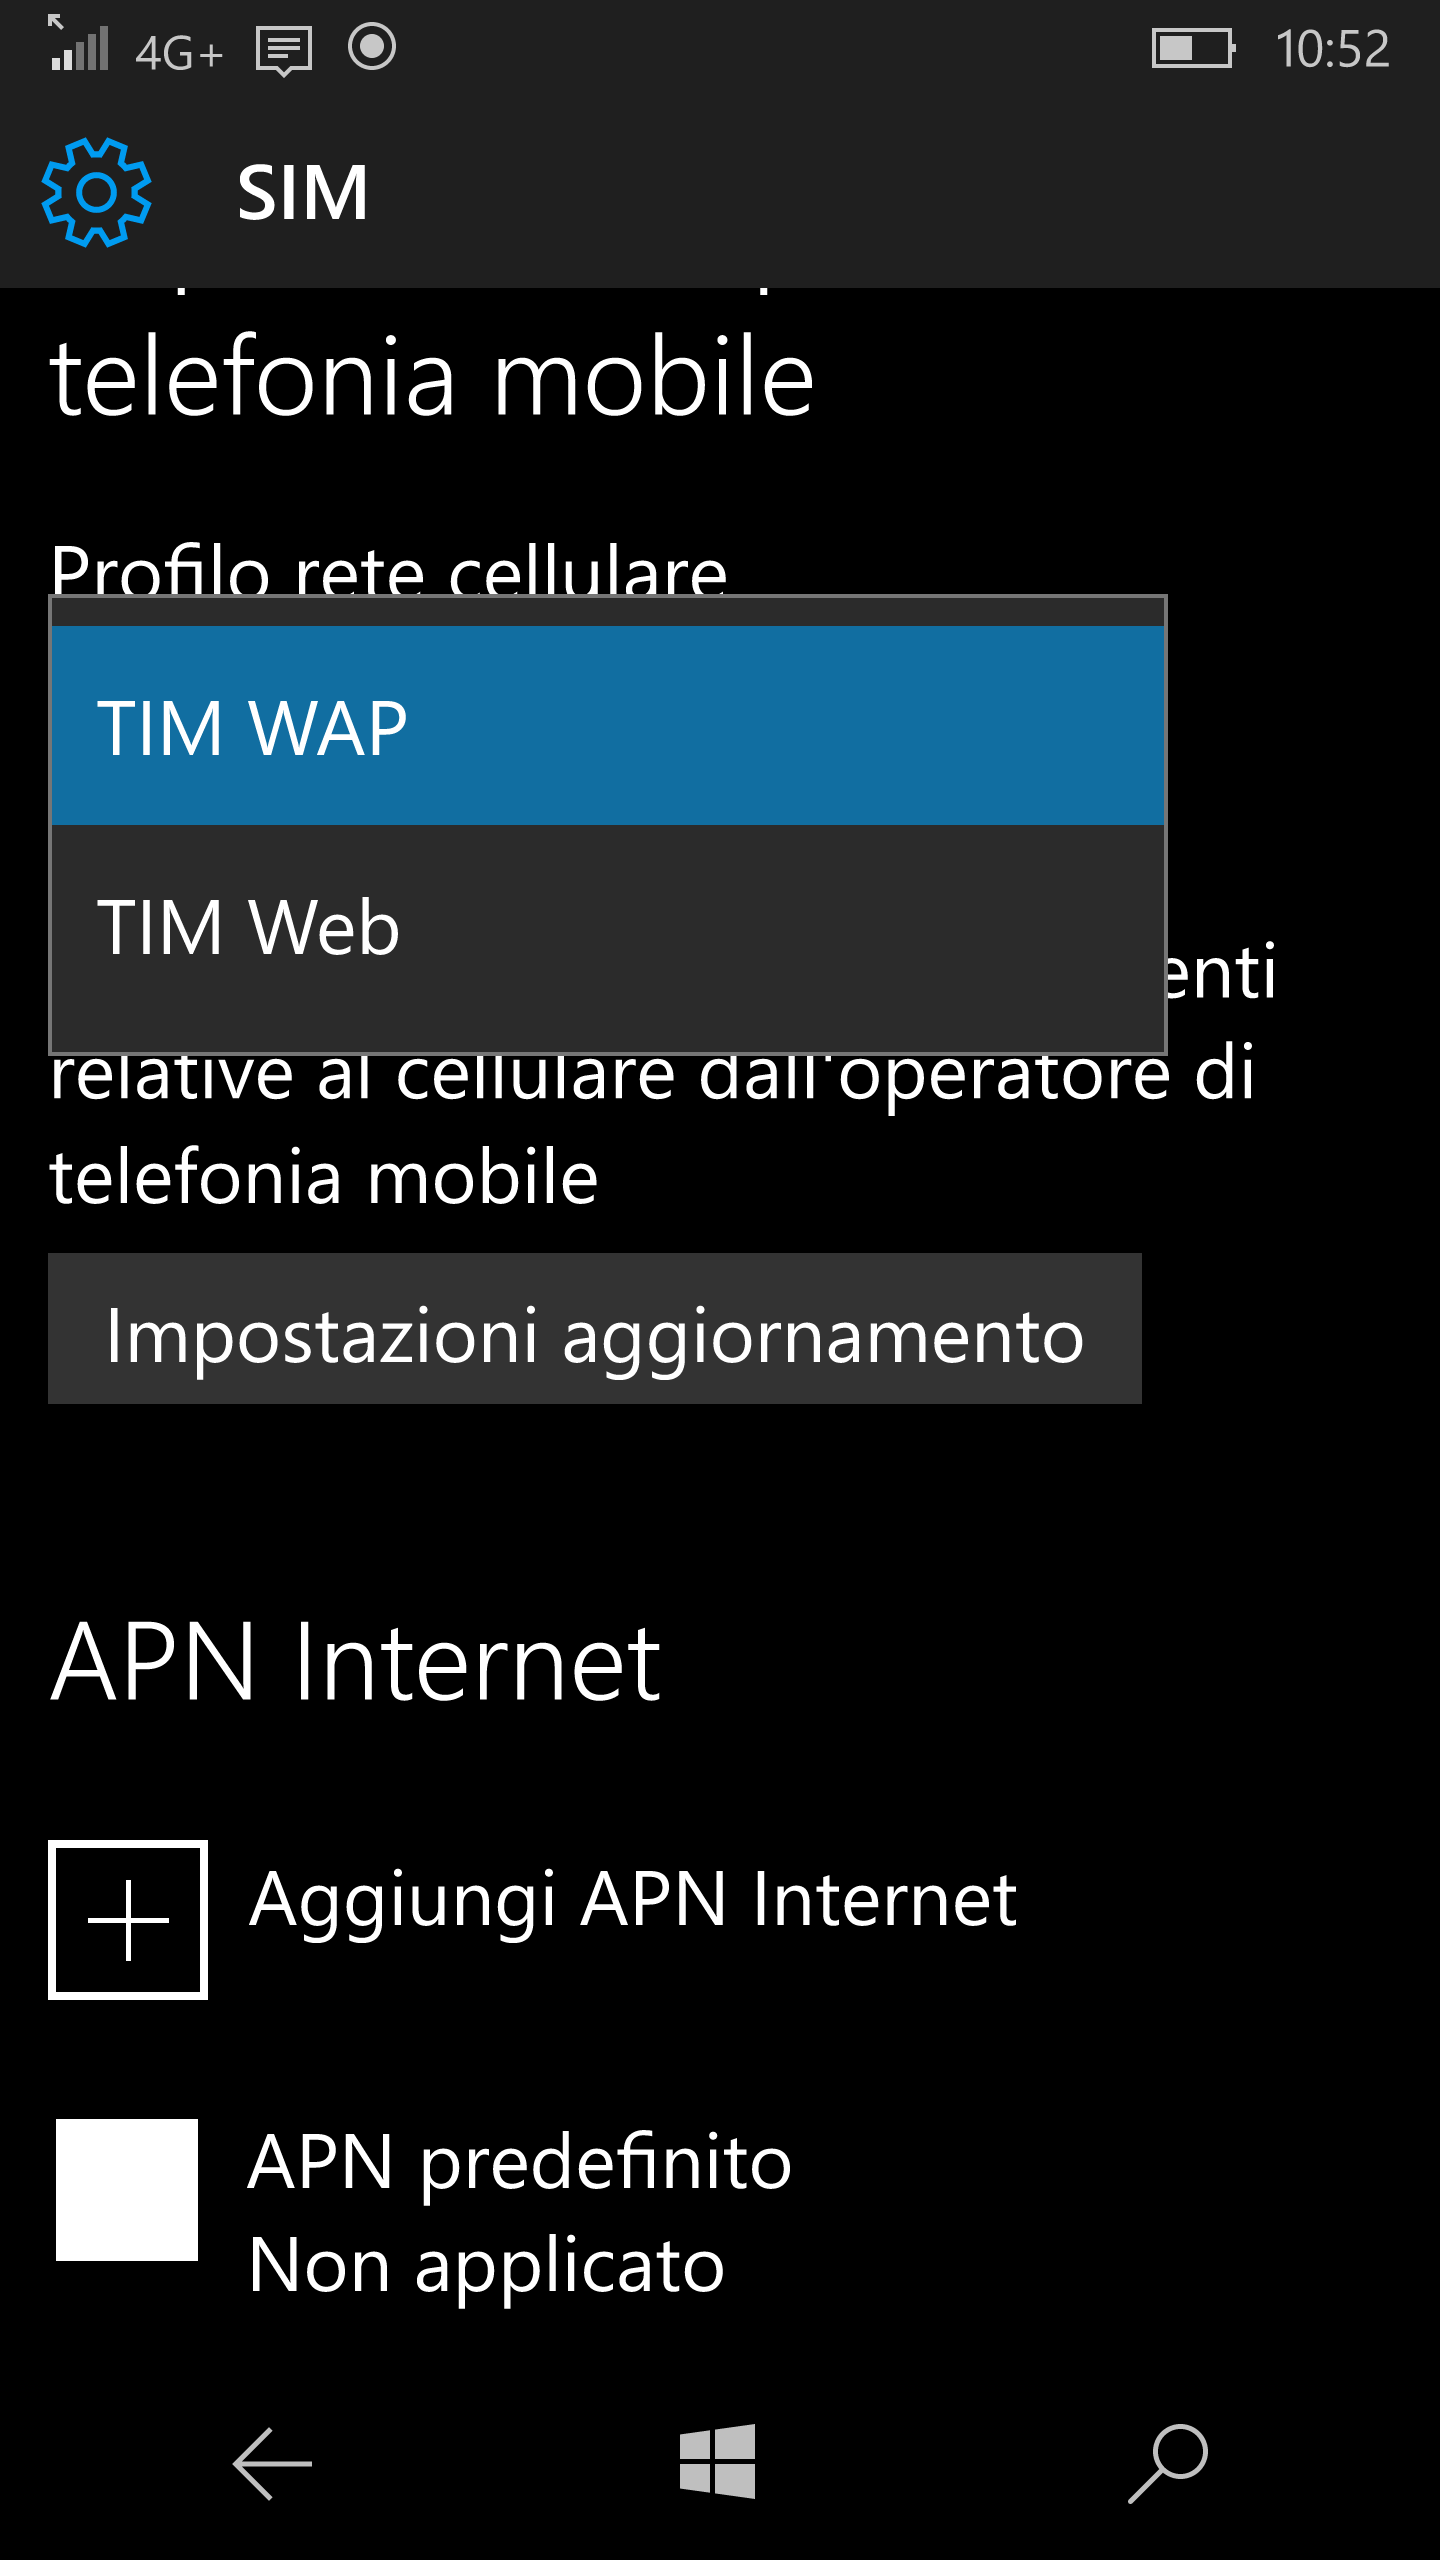
Two possible TIM mobile network profiles available

Correct settings to have also Hotspot mobile works using a private APN
If the new private APN is set in the “APN Internet” section, the “Hotspot mobile” can be set ONLY if the “Mobile network profile” is set to TIM WAP while it cannot be (“I had no data connection to be shared“. popup message) if is set to TIM Web (possibly the only enabled to do tethering) … even though the navigation and connection is fine in the smartphone with both settings of the “Mobile network profile” while the “APN Internet” section is set to the private APN.
P.S. (30/6/2016)
I thought that the problem I had was solved but unfortunately, I realize that all the traffic that is done through it as an hotspot, when (in the Network Settings) the firm employee APN is set goes NOT through that APN but through the public APN … so no access to the intranet from any hotspot Wi-Fi connected device!
This does not happen with an Android or iOS smartphone.
Summarizing:
- The current setting of the private VPN is manually configured correctly, already using the information provided by the IT specialist of my company: in fact it works when I use the phone so I can access with the its browser the intranet. The same configuration work for Android, IOS (since version 9) devices.
- If I try to set on the Hotspot Wi-Fi, when the private VPN is set in the APN Internet section of the same SIM setting page, I cannot succeed if the Profilo rete cellulare (Mobile network profile) is set to TIM Web (that is one of the public VPN of my company TIM) because a popup is displayed saying that there is not Internet shared (“Internet non è condiviso: non hai una connessione dati da poter condividere ora. Controlla le impostazioni e la copertura della rete e riprova”). On the contrary, if I set the Profilo rete cellulare (Mobile network profile) to TIM WAP (that is the other public VPN of my firm TIM) I succeed this time to set on the Hotspot Wi-Fi, but the traffic of this tethering connection go through the public TIM WAP and not through the private VPN, even if set active in the APN Internet section: so from a PC connected to that mobile Wi-Fi, I am not able to go to the intranet with its browser (while I am continuing to navigate in the intranet when using the browser on the phone) and that Wi-Fi traffic of the PC is charged to us employee because it is not done on the private VPN for workers but on the public TIM WAP one. In Windows Phone 8.1 the selection of TIM WAP, TIM Web and the private employee VPN (manually defined in the same way) were alternative and with Windows Phone 8/8.1 … however there was same problem in activating the Hotspot Wi-Fi with that private VPN set. Now in Windows 10 Mobile there are two sections, one for selecting a Mobile network profile (where two items are available in the combo: Tim Web and TIM WAP) and then an APN Internet section where it is listed the APN predefinito (Predefined APN) and possibly others manually defined APNs like my company employee APN. So even if selected this last one, and not the APN predefinito (that I suppose it should refer to the previous selected APN available in the combo (TIM WAP or TIM Web) I have (a) TIM Web selected => no Hotspot can be activated and popup error displayed; (b) TIM WAP selected => Hotspot can be activated BUT Wi-Fi traffic does not go through the selected private APN but through the public TIM Wap (while smartphone traffic – apps or phone edge browser – continue to go through the private APN, so intranet is available).
- This issue happens to all the colleagues that have a Windows 10 Mobile device.
- Setting the APN Type to “default,supl,dun” is the way used in all Android device to let do the tethering traffic goes on the same APN used for the smartphone traffic. In iOS, from the vertion 9 (September 2015) the same resolute is obtained using a new introduced section in the APN definition, that is the PERSONAL HOTSPOT section where you can specify what APN the tethering traffic must use (and you can set the same you set for the smartphone traffic).
Furthermore I received a response in a post of mine in the Italian Microsoft Community forum, where it seems clear that the tethering traffic is always done on the APN selected in the combobox “Phone network profile” (IT: Profilo rete cellulare) even though a new manually defined one is set to active (used only for smartphone created traffic): in that case he changed the network operator and so the SIM (from Vodaphone to ERG), he manually added and defined that new provider APN and set it to active, now the smartphone traffic works properly but he cannot succeed anymore to do tethering (while it was able with the previous SIM, using the predefined APN available in the combobox). Therefore while the smartphone works well using that new defined APN (set to active), the tethering traffic very probably is trying to use the old predefined Vodaphone one, selected in the combobox, even though not selected as active. (Note in that case, being changed the SIM and operator, a reset of the APNs should solve the issue as I suggested in that post (see the following), but if the added APN is a private one … no way!!). In the following, I copied some of the information exchanged in that post in Italian:
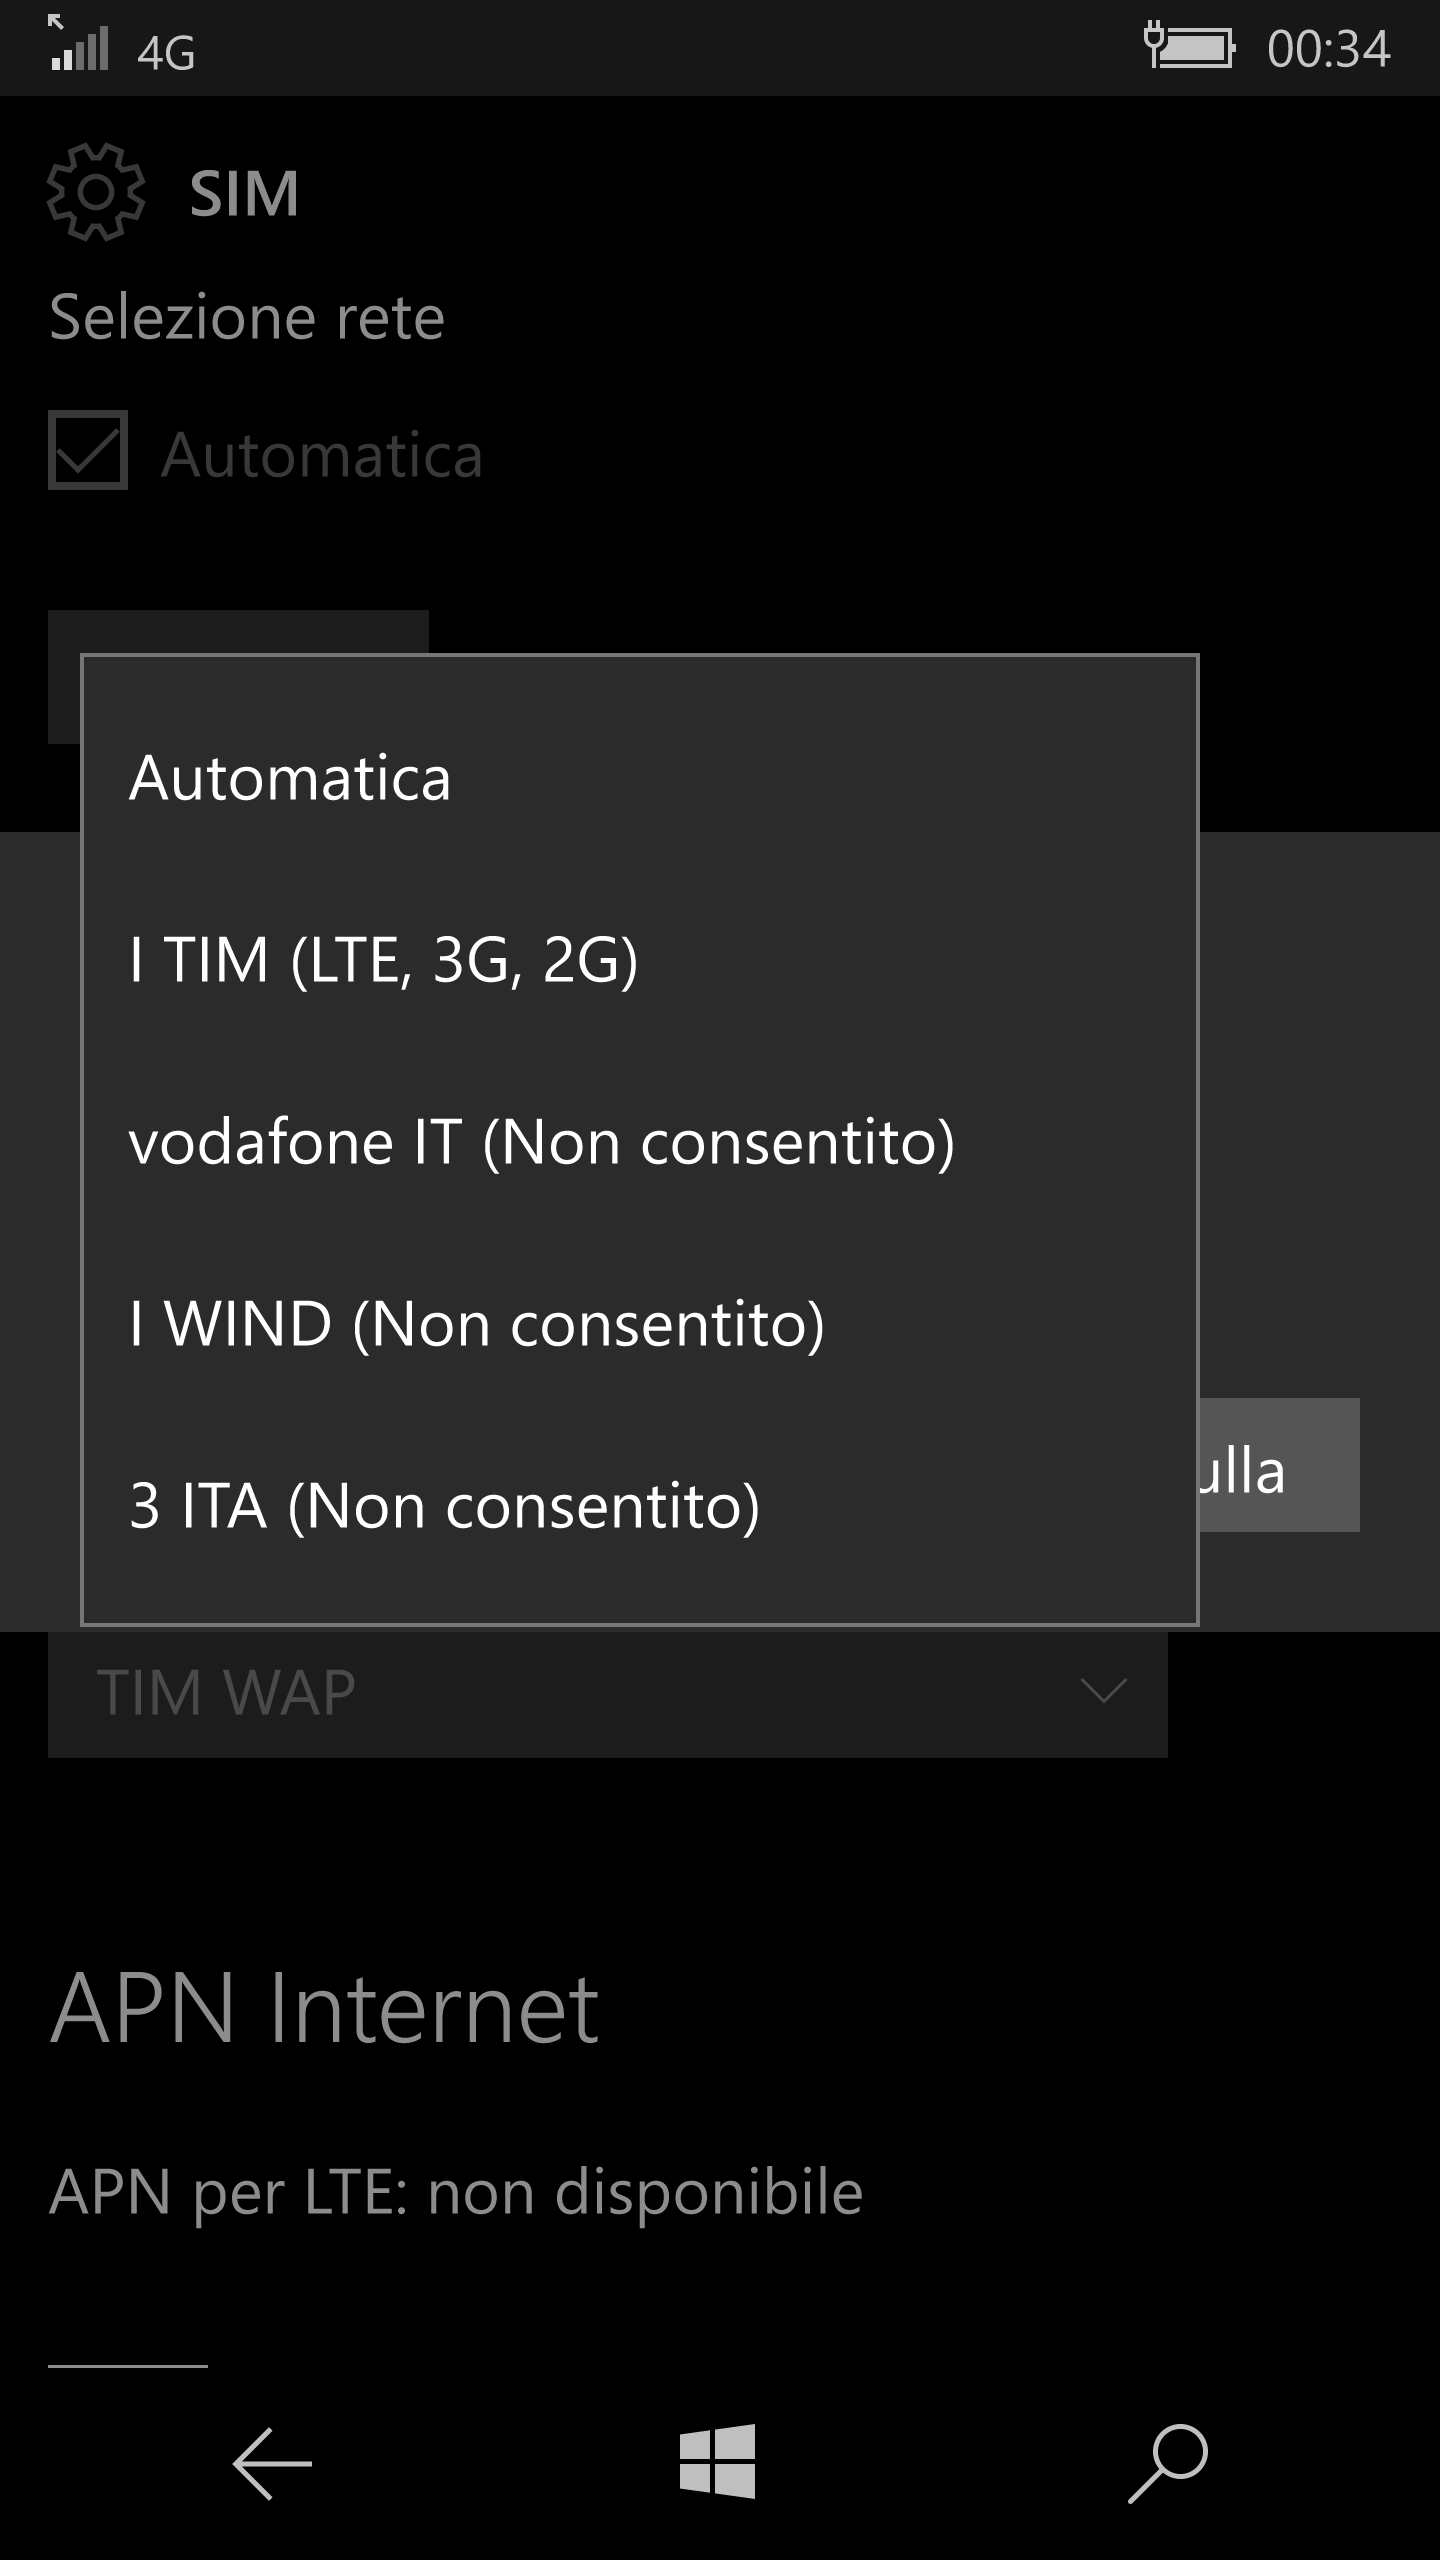
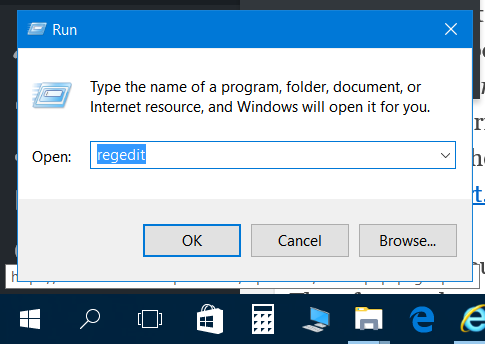
Io avendo un telefonino TIM ho nella combo due APN di quell’operatore come scelta (Tim web, Tim wap). Il fatto che tu abbia altre tre APN mostrate è probabilmente dovuto al fatto che hai un telefono brandizzato Vodaphone o, se era senza brand, si è configurato cosi quando hai inserito per la prima volta una sim vodaphone. Non mi sembra che esista in Windows 10 Mobile la possibilità di reset delle APN. In Android esiste e se la resetti senza sim inserita, quando inserisci la nuova sim, si imposta con le APN proprie dell’operatore di quella. Guarda se togliendo la sim compare una qualche possibilità di reset delle APN: se sì, effettua tale reset quindi spegni il telefono e poi inserisci la nuova sim. Se non esiste tale possibilità puoi, se credi, provare a sbrandizzare il cellulare (in un post di WindowsBlogItalia viene descritto come fare): ovviamente perdi la garanzia a meno di non effettuare poi il reset con il Windows Device Recovery Tool di Microsoft e riportare lo Smartphone alle condizioni di fabbrica.
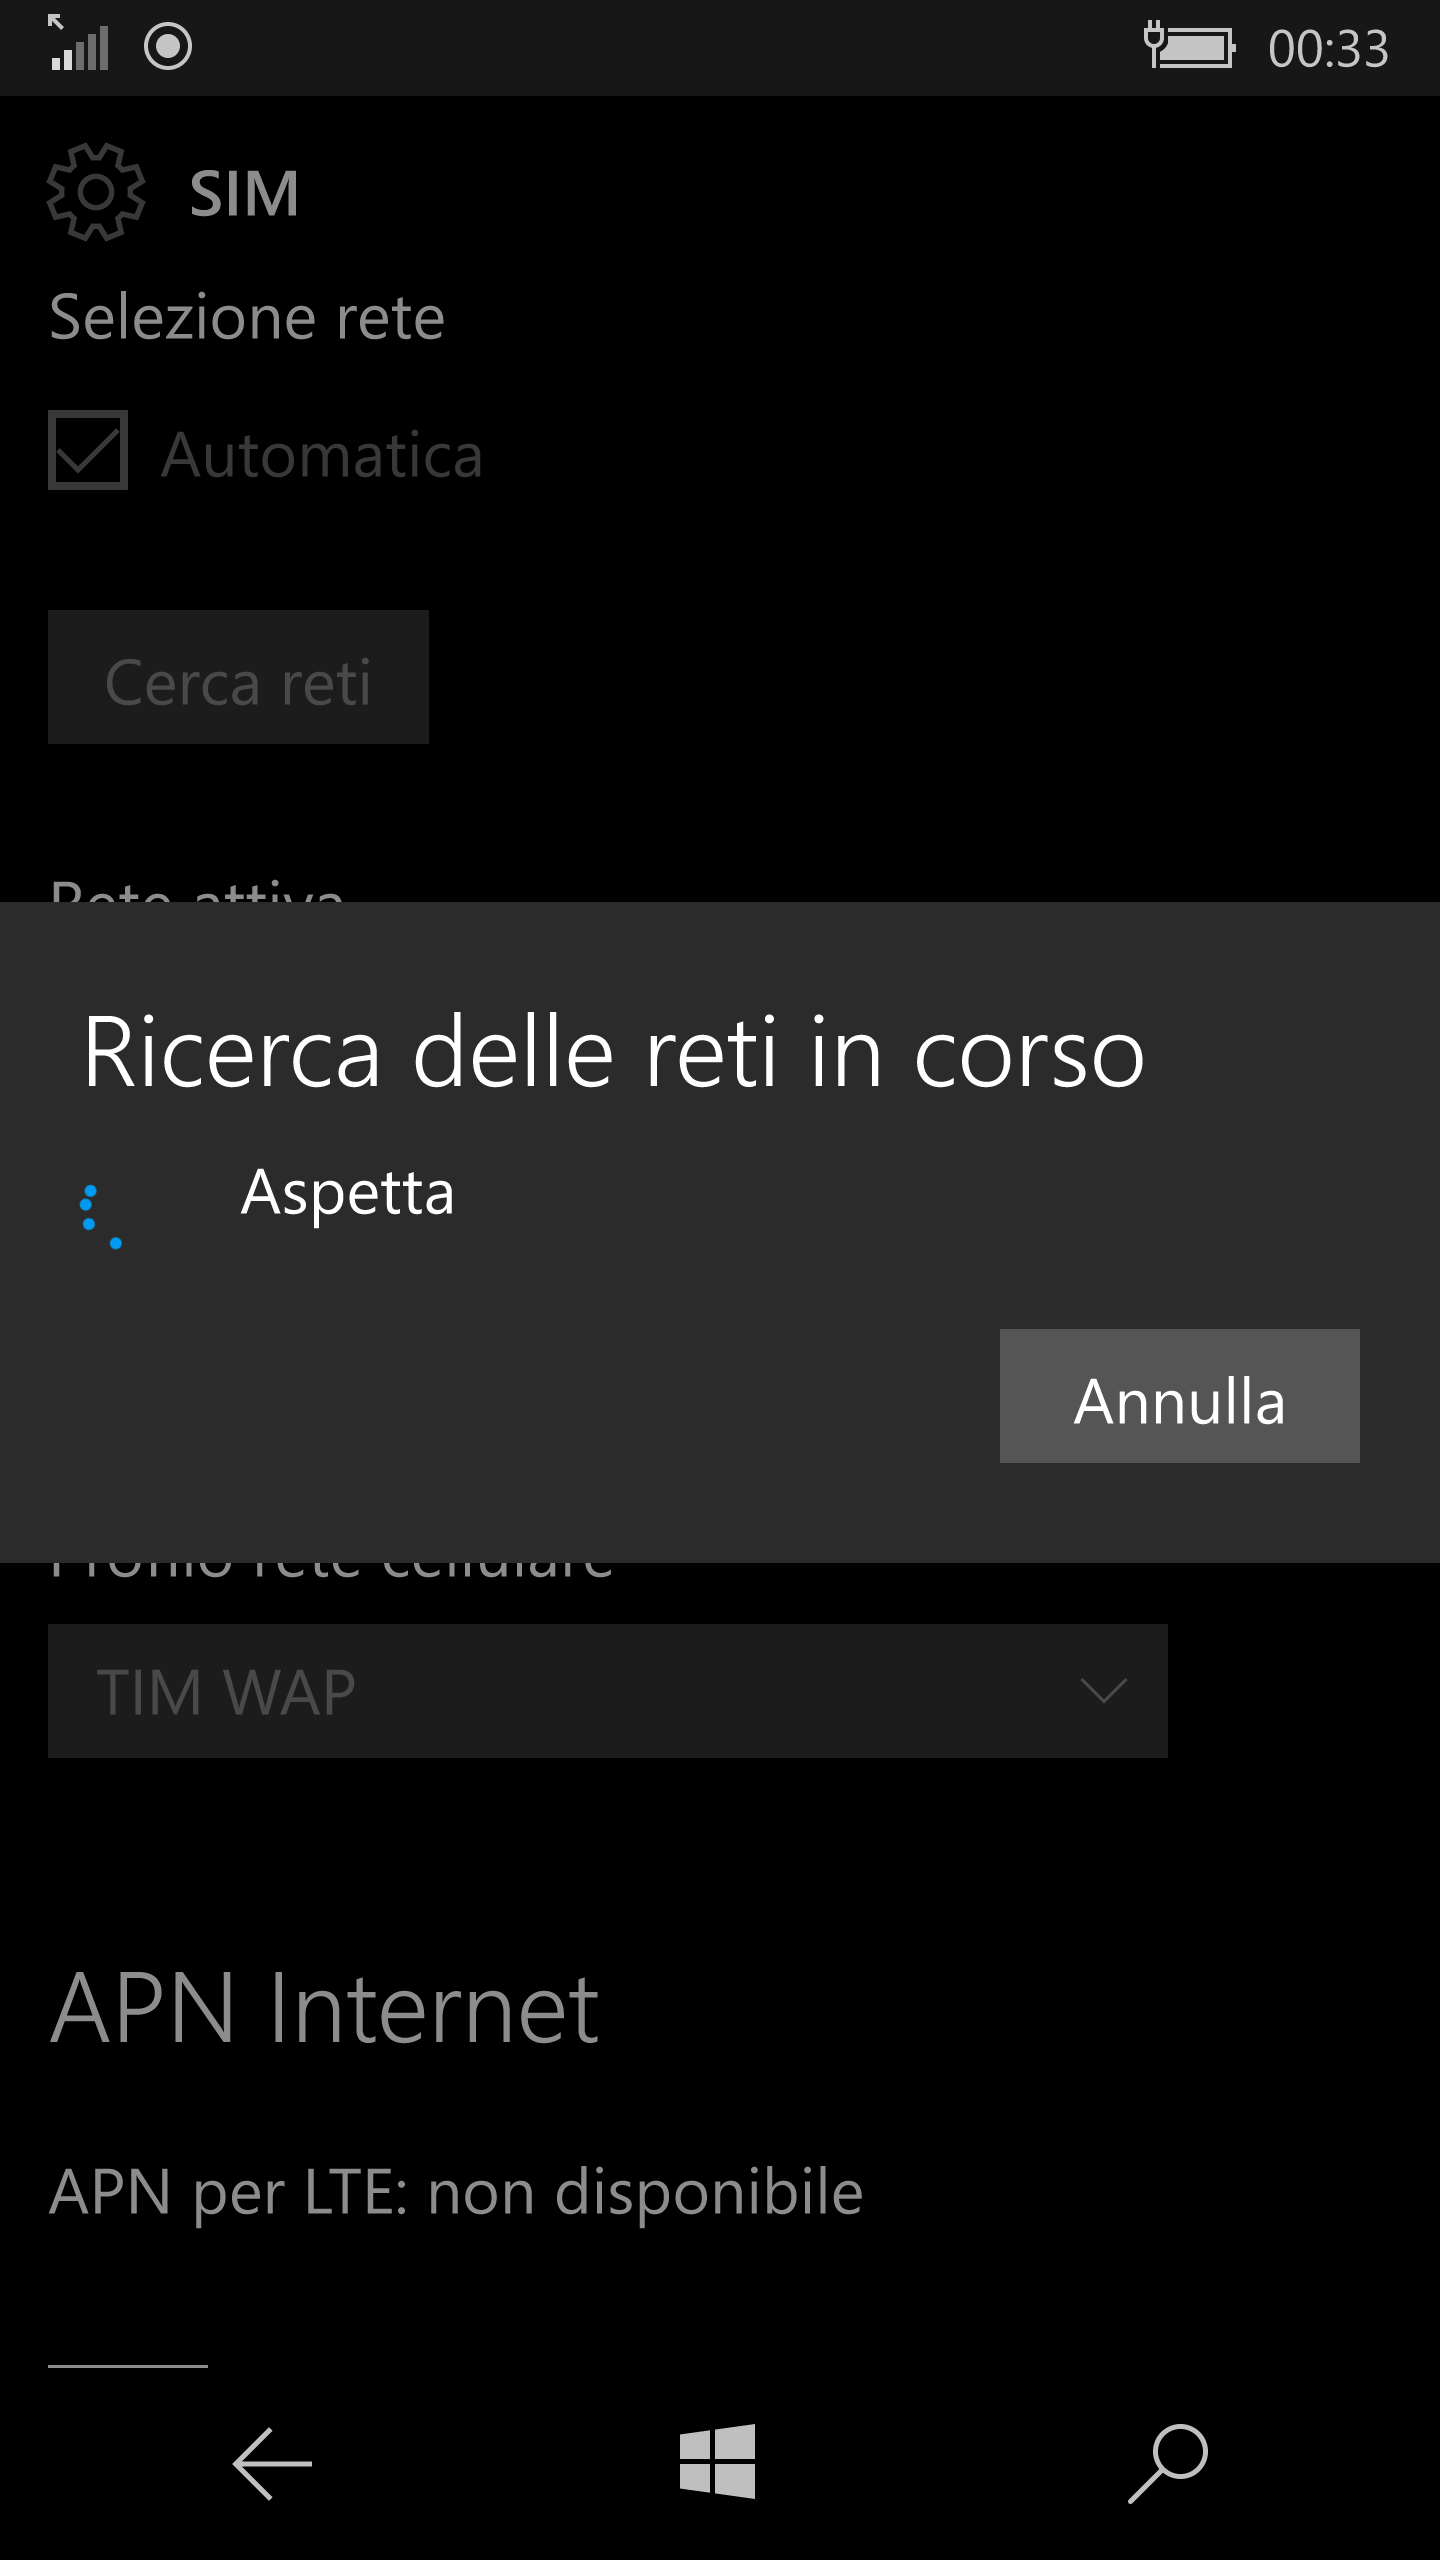
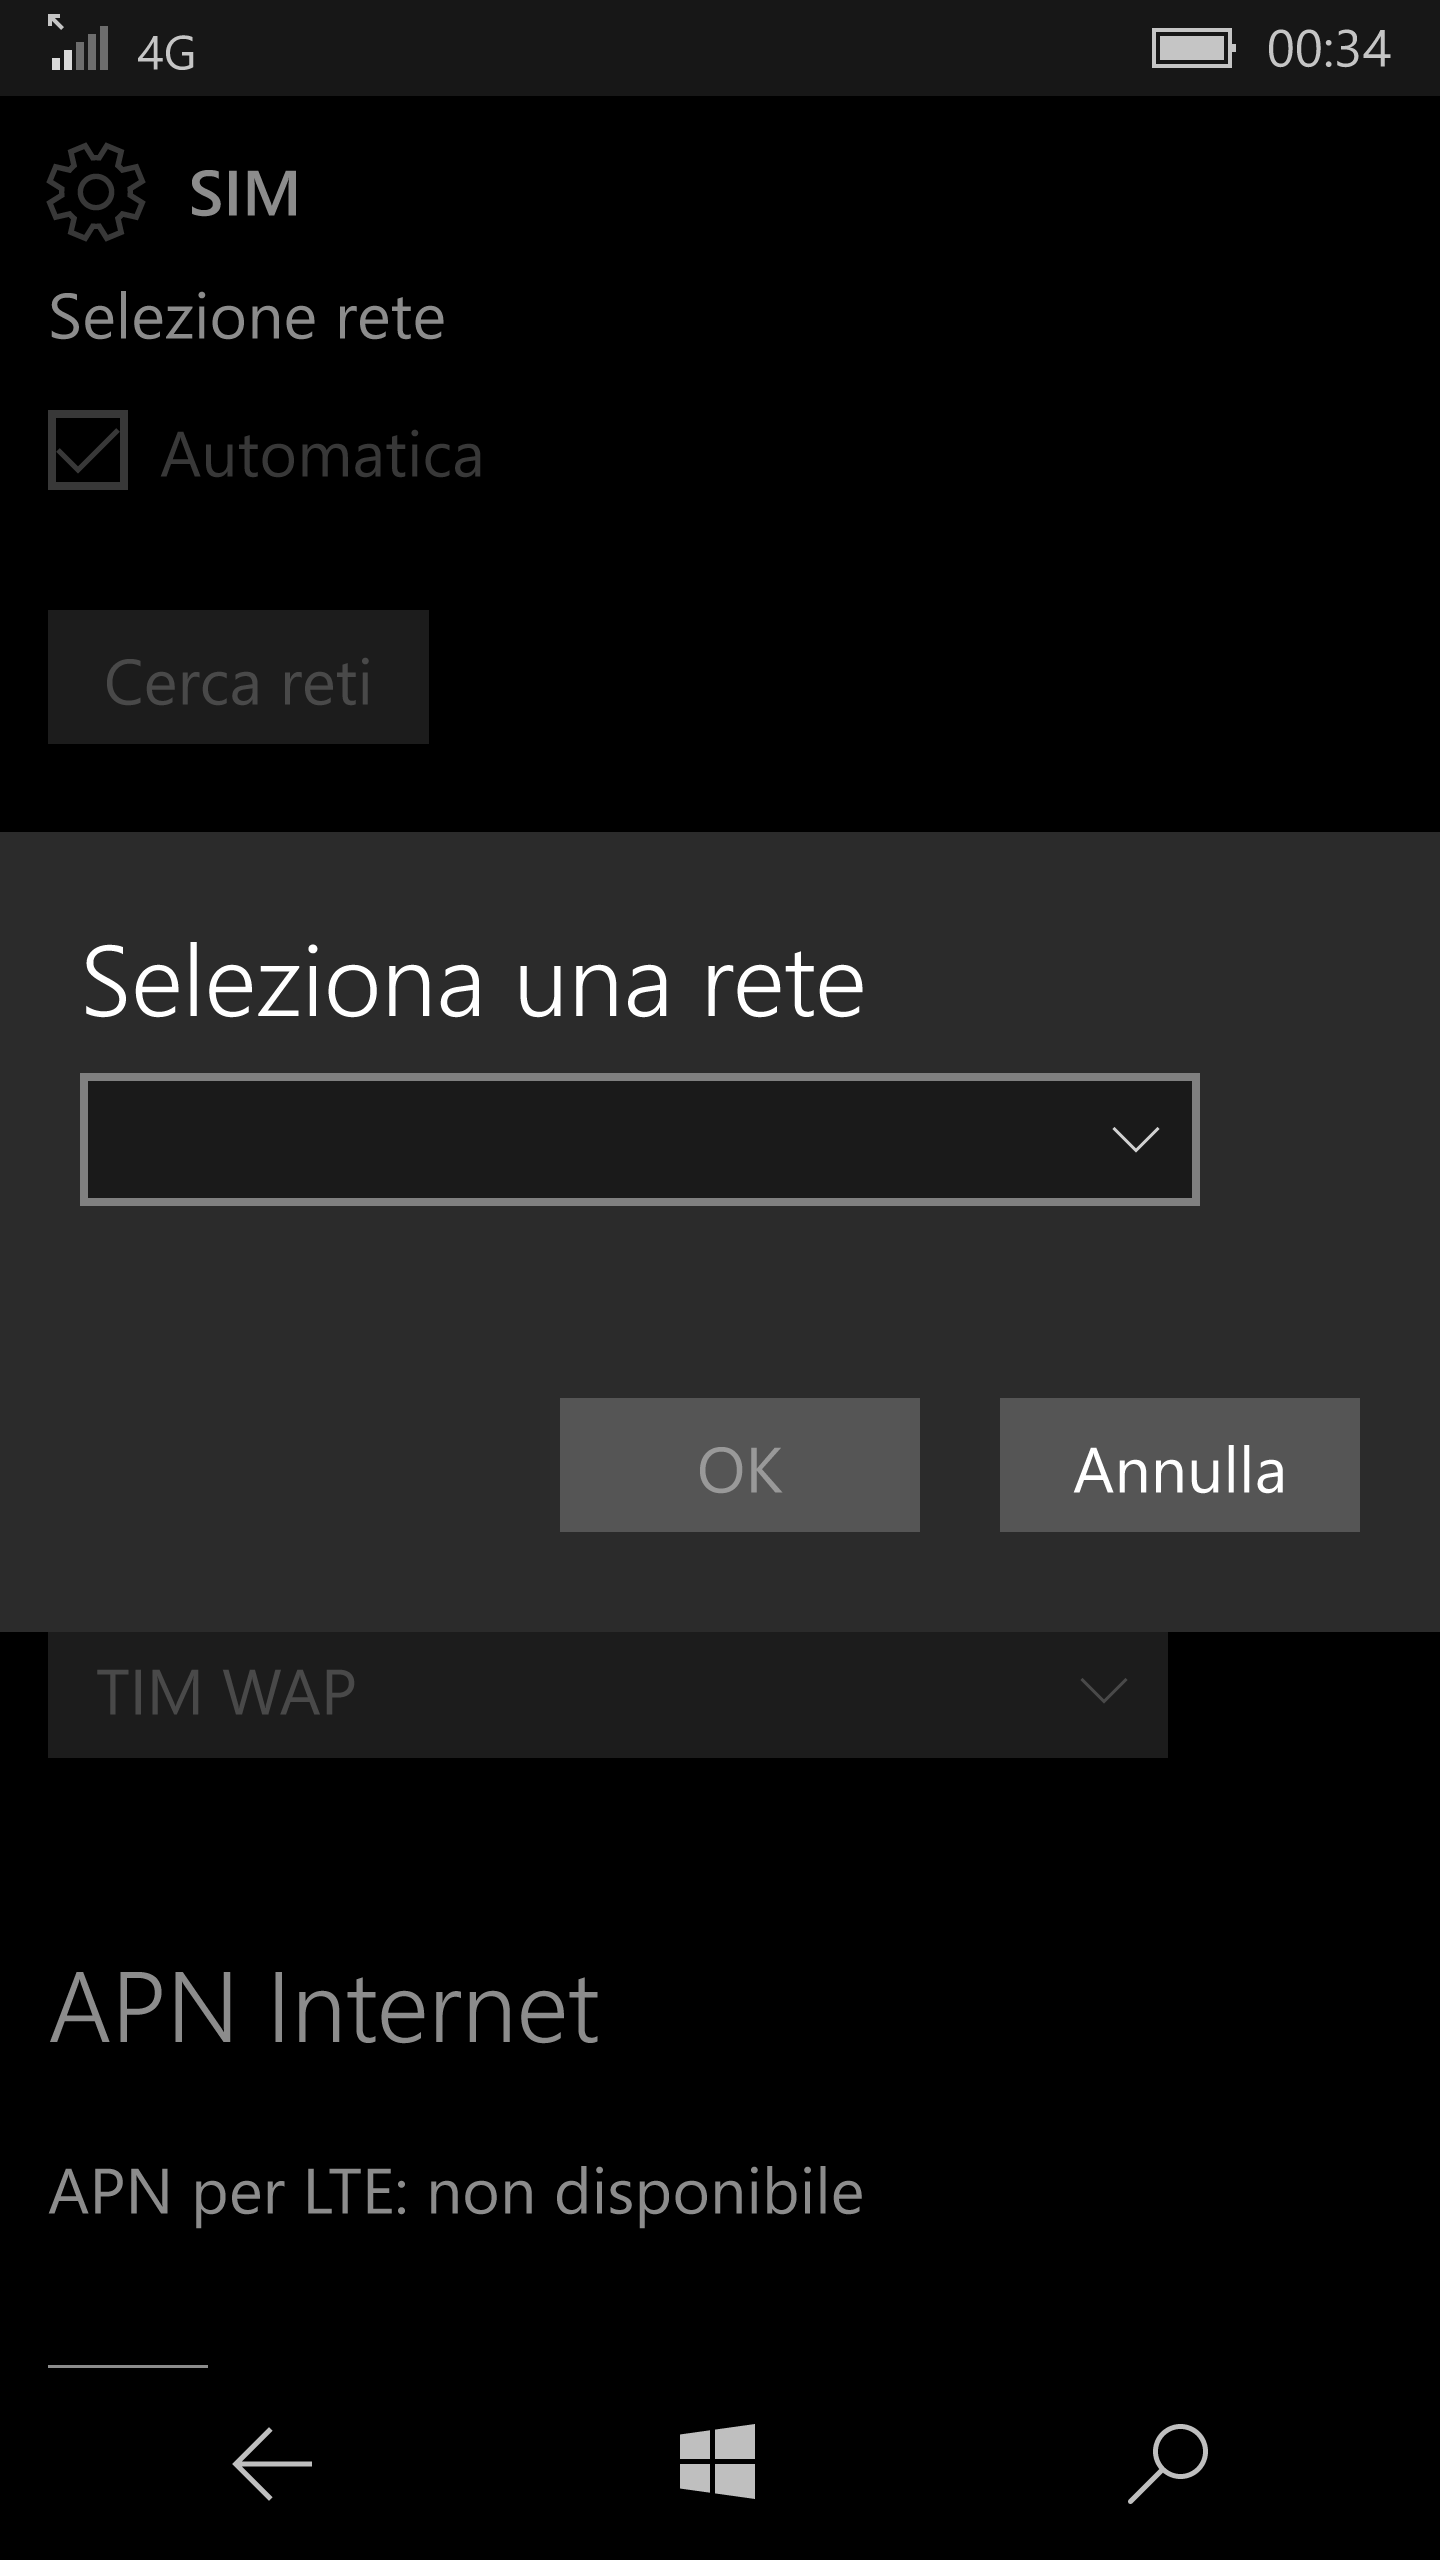
Puoi anche provare a premere il pulsante “Ricerca rete” poi selezionare quel tuo operatore se compare: anche così dovrebbero comparire nella combo le APN pubbliche di quell’operatore.
Magari quando fai quella procedura prova anche a togliere la SIM in modo tale che non condizioni la possibilità di scelta dell’operatore. Se non compare il tuo operatore, metti la selezione ad “Automatica“, poi spegni e inserisci la SIM. Dovrebbe prendersi le APN proprie di quell’operatore e memorizzate nella SIM stessa.
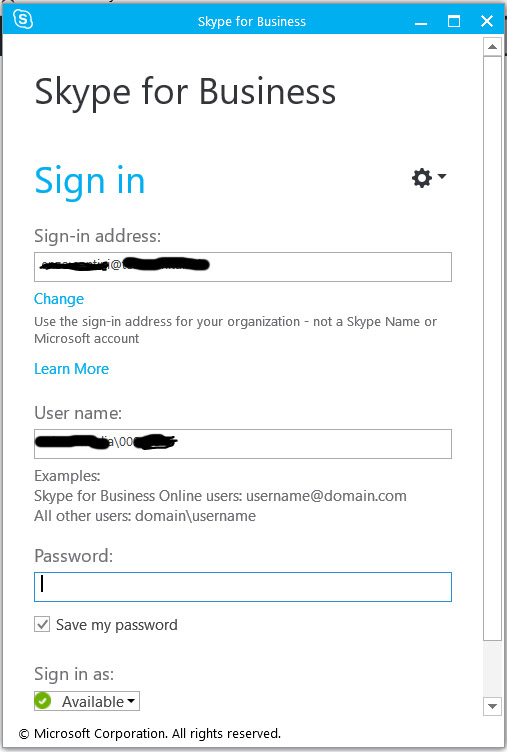
Tuttavia, se si tratta di un operatore virtuale (e.g. ERG che si appoggia su rete Vodafone), il telefono/SIM, non avendo in memoria le APN corrette, propone quelle dell’operatore su sui si poggia (e.g. Vodafone) o degli operatori virtuali che hanno inserito in Microsoft nella combobox: gli altri devono essere necessariamente inseriti manualmente. Peccato che poi la trasmissione dati funzioni solo per i dati generati dallo smartphone e non quelli provenienti dall’Hotspot Wi-Fi, per cui il tethering non risulta possibile. Da quando poi quando hanno aggiornato Skype con Anteprima Skype sembrerebbe che anche quella app non punti più correttamente (funziona solo se si usa la SIM dell’operatore principale, (e.g. Vodafone) oppure con il Wi-Fi, ma non con la SIM dell’operatore virtuale (e.g. ERG). Sembra inoltre che l’unico marchio che riconosce ERG con tutte le sue APN, compresa quella degli mms, è Wiko, mentre tutti gli altri va impostato manualmente.
==================
Questo post si aggiunge ad altri che sono specificatamente indirizzati a colleghi.🙂
PS: puoi trovare gli altri post filtrando, nella combobox a desta, sulla categoria “Aziendali”. Alcuni sono protetti da password per cui se ti interessano puoi contattarmi tramite l’email aziendale o telefonicamente.


